Peanut Butter Cookie Bars Recipe Lunch Ladies Love
Memories of school cafeteria peanut butter lunch lady cookie bars transport me back to childhood comfort.
Sweet nostalgia lingers in every delectable square of this classic treat.
School lunch memories inspire pure culinary magic with minimal ingredients.
Soft, chewy textures promise a delightful afternoon snack that satisfies deep cravings.
Generations have cherished this simple yet irresistible dessert across countless kitchens.
Mixing basic pantry staples creates something truly extraordinary in under thirty minutes.
You will want to experience these mouthwatering bars immediately.
Reasons to Love Peanut Butter Lunch Lady Cookie Bars
Ingredients Needed for Peanut Butter Lunch Lady Cookie Bars
Main Ingredients:Leavening Agents:Optional Topping:Flavor Enhancer:How to Bake Peanut Butter Lunch Lady Cookie Bars
Step 1: Prepare Baking Space
Warm up the oven to 350°F (175°C). Grease a 9×13-inch baking pan thoroughly with butter or cooking spray to prevent sticking.
Step 2: Whip Creamy Base
In a large mixing bowl, combine:Blend these ingredients until they become light and airy. Add eggs one at a time, stirring after each addition. Pour in vanilla extract and mix until smooth.
Step 3: Create Dry Mixture
In a separate bowl, blend:Gently fold the dry ingredients into the wet mixture, stirring until just combined. Avoid overmixing to keep the bars tender.
Step 4: Spread and Decorate
Transfer the cookie dough into the prepared pan, spreading it evenly with a spatula. Optional: Sprinkle chocolate chips across the top for extra sweetness.
Step 5: Bake to Golden Perfection
Place the pan in the preheated oven. Bake for 25-30 minutes until the top turns golden brown. Check doneness by inserting a toothpick into the center – it should come out clean.
Step 6: Cool and Slice
Let the bars rest in the pan for 10 minutes. Transfer to a wire cooling rack. Once completely cooled, slice into squares and serve.
Pro Tips for Peanut Butter Lunch Lady Cookie Bars
Variations to Try With Peanut Butter Lunch Lady Cookie Bars
Pairing Ideas for Peanut Butter Lunch Lady Cookie Bars
Best Storage Methods for Peanut Butter Lunch Lady Cookie Bars
FAQs About Peanut Butter Lunch Lady Cookie Bars
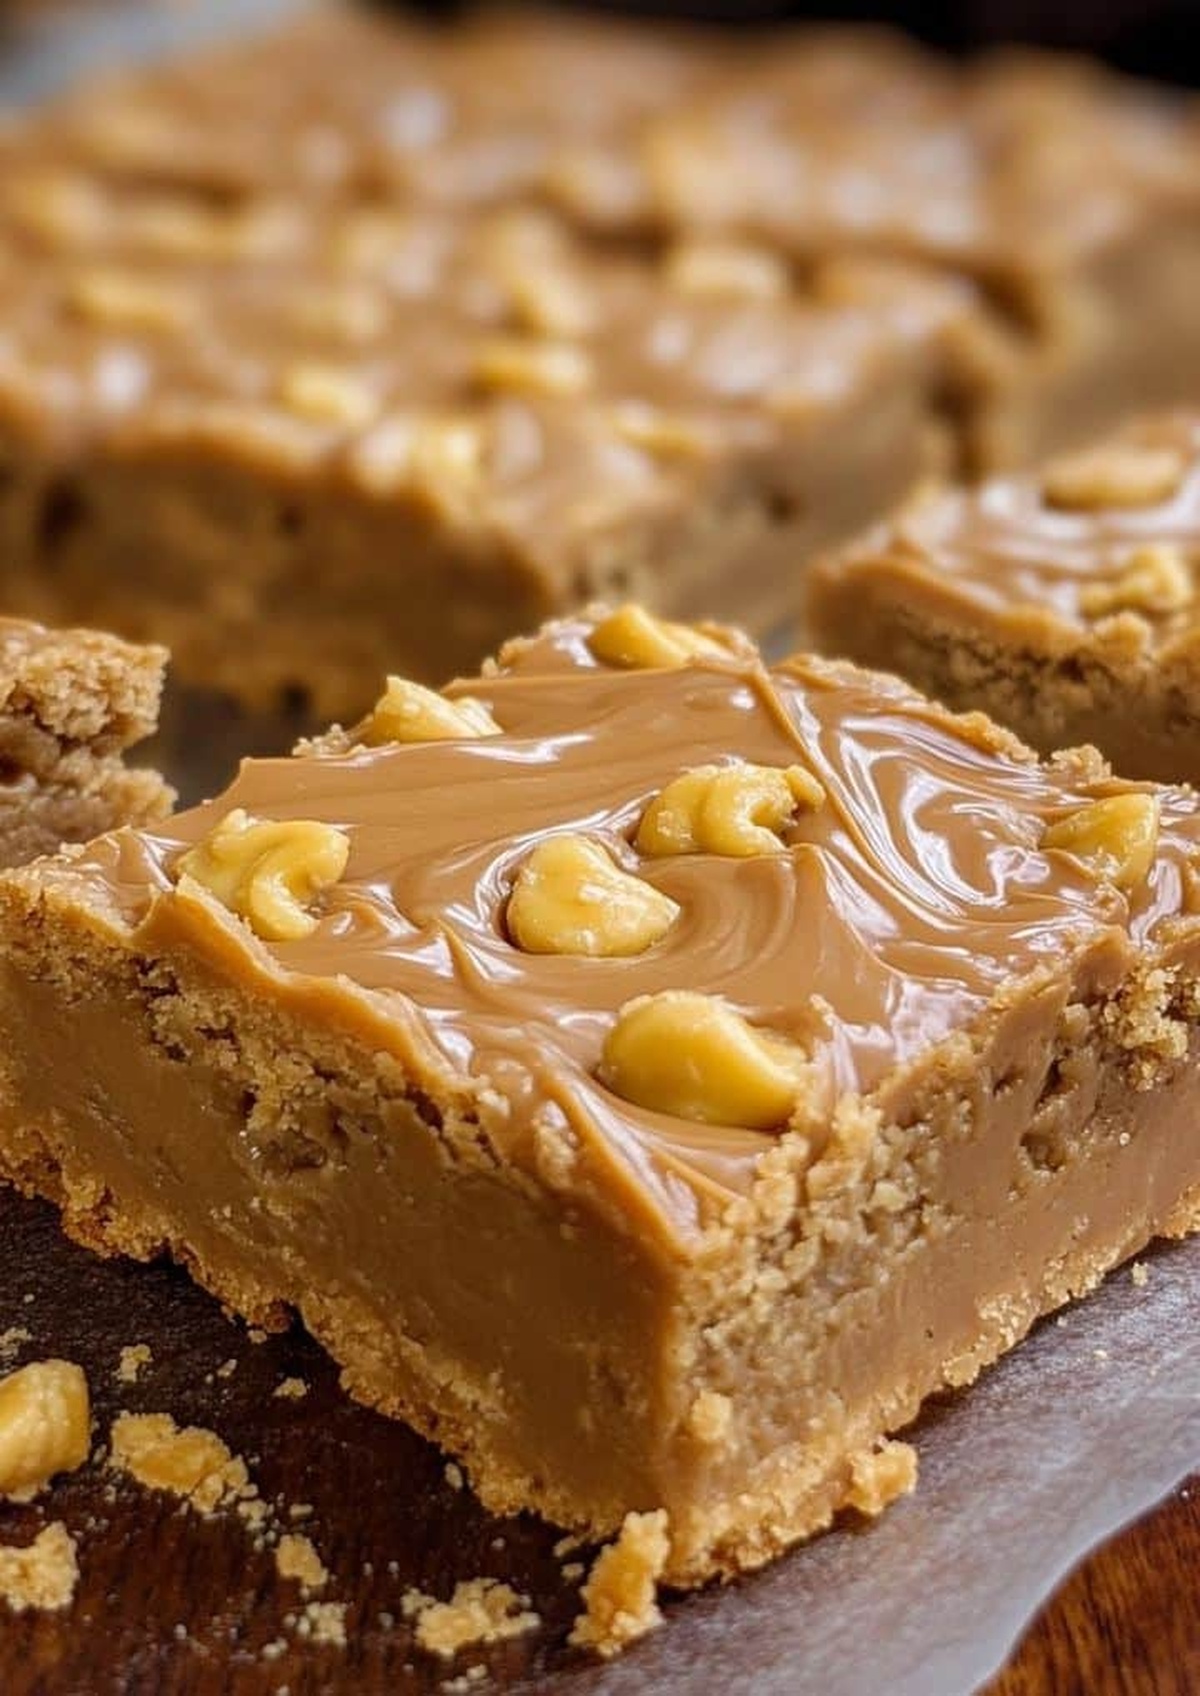
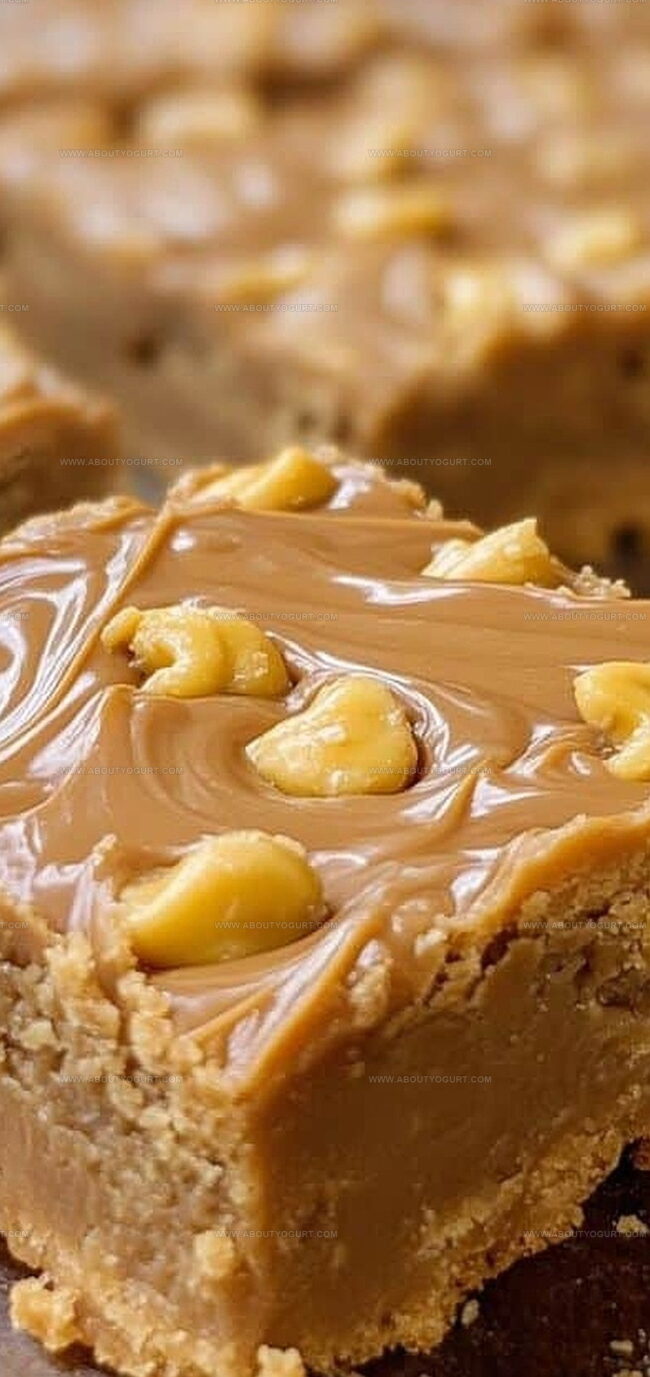
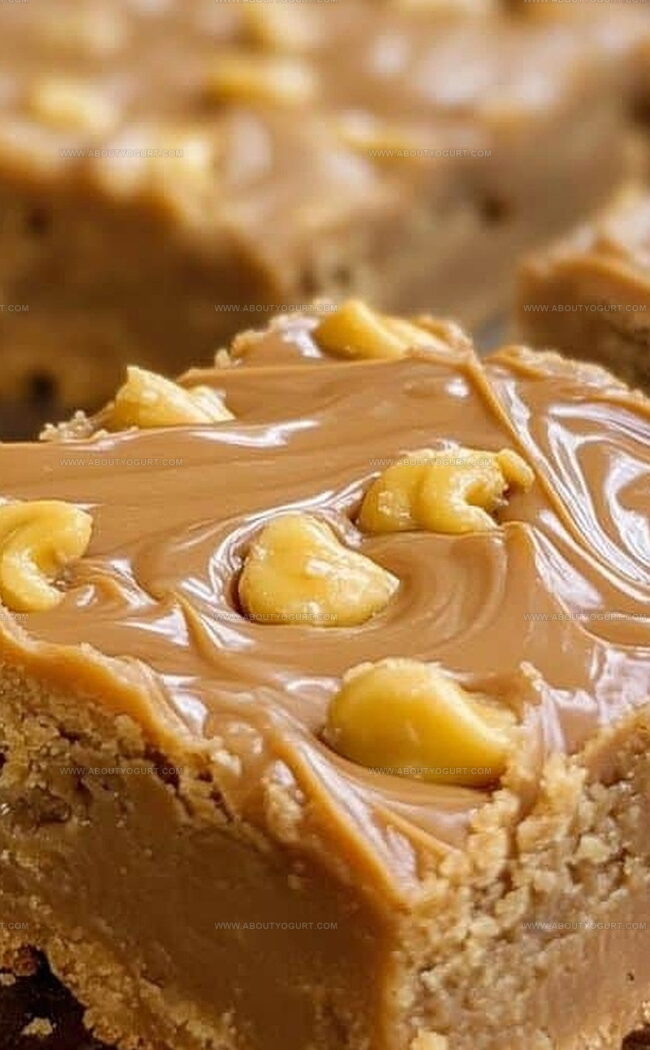
These classic nostalgic dessert bars are inspired by the beloved homemade-style cookies served in school cafeterias, featuring a rich peanut butter base with a soft, chewy texture that brings back childhood memories.
Yes, simply substitute the all-purpose flour with a gluten-free flour blend that has a 1:1 ratio replacement to maintain the same texture and consistency of the original recipe.
Look for a golden brown top and insert a toothpick into the center – if it comes out clean with just a few moist crumbs, the bars are ready to be removed from the oven.
Print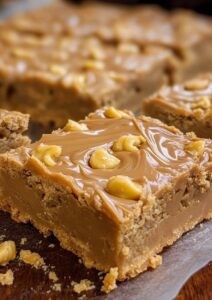
Peanut Butter Lunch Lady Cookie Bars Recipe
- Total Time: 40-45 minutes
- Yield: 24 1x
Description
Nostalgic school cafeteria peanut butter lunch lady cookie bars bring comfort and sweet memories to dessert lovers. Buttery, chewy squares with classic peanut butter flavor promise delightful indulgence you’ll crave from first bite to last.
Ingredients
Main Ingredients:
- 1 cup (240 ml) creamy peanut butter
- 1 cup (240 ml) unsalted butter, room temperature
- 3 cups (375 g) all-purpose flour
- 2 large eggs
- 1 cup (200 g) granulated sugar
- 1 cup (220 g) brown sugar, packed
Flavor Enhancers:
- 1 teaspoon vanilla extract
- 1/2 teaspoon salt
Leavening Agents:
- 1 teaspoon baking powder
- 1/2 teaspoon baking soda
- 1 cup (170 g) chocolate chips (optional, for topping)
Instructions
- Prepare the oven at 350°F (175°C) and prepare a 9×13-inch baking pan by greasing and lightly dusting with flour to prevent sticking.
- In a spacious mixing bowl, whip the peanut butter, granulated and brown sugars, and butter until the mixture becomes airy and smooth, creating a light, creamy consistency.
- Incorporate eggs individually into the creamed mixture, ensuring each is fully integrated before adding the next, then blend in the vanilla extract for enhanced flavor depth.
- In a separate bowl, thoroughly combine the dry ingredients – flour, baking powder, baking soda, and salt – using a whisk to eliminate any potential lumps.
- Gradually fold the dry ingredient mixture into the wet ingredients, stirring gently until just combined to maintain the cookies’ tender texture.
- Transfer the dough into the prepared baking pan, spreading it evenly to ensure uniform baking, and optionally scatter chocolate chips across the surface for added richness.
- Slide the pan into the preheated oven and bake for 25-30 minutes, watching for a golden-brown top and checking doneness with a toothpick that should emerge clean when inserted into the center.
- Remove from the oven and let the bars rest in the pan for 10 minutes to set, then carefully transfer to a wire cooling rack to cool completely.
- Once cooled, slice into square servings and indulge in the soft, decadent peanut butter bars.
Notes
- Swap peanut butter with sunflower seed butter for a nut-free version that’s perfect for school lunches or allergy-sensitive diets.
- Reduce sugar by 25% without compromising taste by using monk fruit sweetener or adding mashed ripe bananas for natural sweetness.
- Check doneness early by inserting a toothpick at 22 minutes to prevent over-baking, which can make bars dry and crumbly.
- Enhance texture by chilling the dough for 30 minutes before spreading in the pan, creating a denser, chewier cookie bar.
- Prep Time: 15 minutes
- Cook Time: 25-30 minutes
- Category: Breakfast, Snacks, Desserts
- Method: Baking
- Cuisine: American
Nutrition
- Serving Size: 24
- Calories: 258
- Sugar: 18 g
- Sodium: 115 mg
- Fat: 15 g
- Saturated Fat: 4 g
- Unsaturated Fat: 11 g
- Trans Fat: 0.1 g
- Carbohydrates: 26 g
- Fiber: 2 g
- Protein: 6 g
- Cholesterol: 30 mg
Michael Thompson
Founder & Recipe Developer
Expertise
Education
Cascade Culinary Institute – Bend, OR
ServSafe Food Handler Certification – Portland, OR
Focus: Certified in core food safety and hygiene principles for both home and professional kitchens, with emphasis on ingredient handling, kitchen cleanliness, and safe preparation methods.
Mike’s kitchen journey began with a single goal: to make everyday meals feel like something worth celebrating.
After earning his Certificate in Culinary Arts from Cascade Culinary Institute, he spent years working with local farmers and small kitchens across Oregon, learning the beauty of seasonal, small-batch cooking.
Mike’s approach is simple, cook with what’s fresh, keep it approachable, and always leave room for a little creativity. When he’s not testing yogurt marinades or designing single-serving meals, you’ll find him hiking trails or hunting down the best berries at local markets.