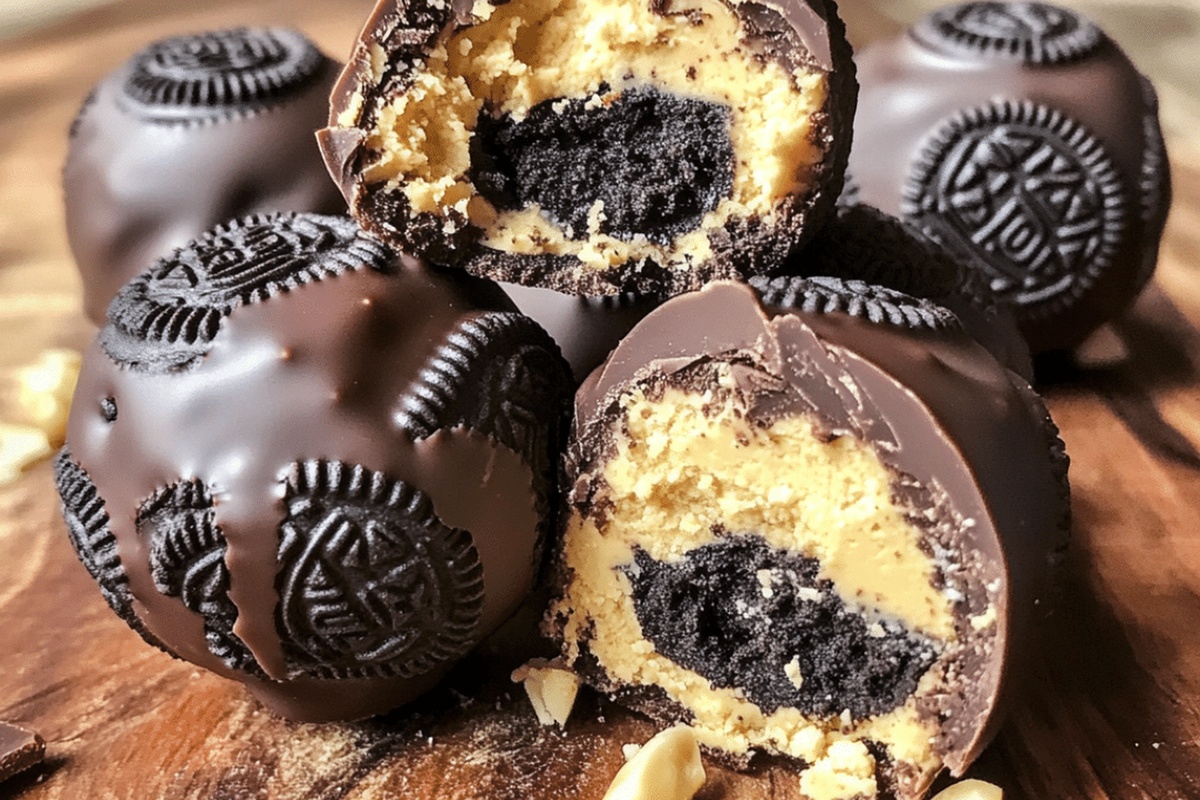
Quick & Creamy Peanut Butter Oreo Cookie Balls Recipe
Sweet tooths go crazy for these mouthwatering peanut butter oreo cookie balls that pack an irresistible punch of flavor.
Crushing oreos into fine crumbs creates the perfect base for this no-bake treat.
Creamy peanut butter blends seamlessly with the chocolate sandwich cookies, creating a decadent mixture.
Rich chocolate coating adds an extra layer of indulgence to these bite-sized delights.
Minimal ingredients and simple preparation make these treats a breeze to whip up in minutes.
Chilling helps the balls set perfectly, ensuring a smooth and delectable texture.
You won’t be able to stop at just one of these addictive little morsels – so grab your ingredients and start creating this crowd-pleasing dessert!
Why You’ll Love Peanut Butter Oreo Cookie Balls
What You’ll Need For Peanut Butter Oreo Cookie Balls
Base Ingredients:Coating Ingredient:Optional Garnish:Steps To Make Peanut Butter Oreo Cookie Balls
Step 1: Pulverize Oreo Cookies
Break the Oreo cookies into the food processor and pulse until they transform into fine, sandy crumbs that resemble soft beach sand.
Step 2: Blend Creamy Mixture
Combine the pulverized Oreo crumbs in a spacious mixing bowl with:Stir the ingredients until they create a cohesive, moldable mixture that holds together perfectly.
Step 3: Shape Delightful Spheres
Gently roll the mixture between your palms, crafting small, uniform spheres. Place each ball onto a parchment-lined baking sheet with care.
Step 4: Melt Chocolate Coating
Select a microwave-safe bowl and melt chocolate chips in 30-second intervals. Stir between each heating cycle until the chocolate transforms into a silky, glossy liquid.
Step 5: Dunk and Cover
Carefully submerge each cookie ball into the melted chocolate, ensuring complete and even coverage. Gently lift and allow excess chocolate to drip off before returning to the parchment-lined sheet.
Step 6: Chill and Solidify
Transfer the chocolate-coated balls to the refrigerator. Let them rest for a minimum of 30 minutes, allowing the chocolate to harden into a crisp, smooth shell.
Step 7: Indulge and Enjoy
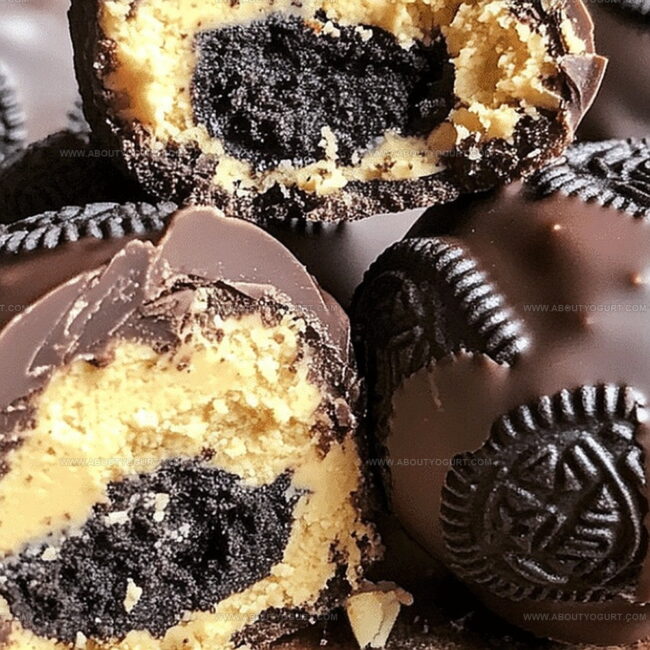
Remove from the refrigerator and savor these decadent, bite-sized treats that blend creamy peanut butter, chocolatey goodness, and crunchy Oreo magic.
Tips For Perfect Peanut Butter Oreo Cookie Balls

Ways To Switch Up Peanut Butter Oreo Cookie Balls
What Goes Well With Peanut Butter Oreo Cookie Balls
How To Store Peanut Butter Oreo Cookie Balls
Peanut Butter Oreo Cookie Balls FAQs
Yes, you can substitute Oreo cookies with graham crackers or other chocolate sandwich cookies for a similar texture and taste.
When stored in an airtight container in the refrigerator, they can stay fresh for up to a week.
No, you can also place the cookies in a sealed plastic bag and crush them with a rolling pin or the bottom of a heavy pan.
While peanut butter adds flavor, you could use cream cheese as an alternative binding ingredient for the cookie balls.
Print
Peanut Butter Oreo Cookie Balls Recipe
- Total Time: 50 minutes
- Yield: 24 1x
Description
Irresistible peanut butter oreo cookie balls deliver a delightful blend of creamy and crunchy textures that chocolate and cookie enthusiasts crave. Sweet cookie crumbs mixed with rich peanut butter create bite-sized treats perfect for sharing with friends and family.
Ingredients
Main Ingredients:
- 1 package oreo cookies
- 1 cup (240 milliliters) creamy peanut butter
- 12 ounces (340 grams) semi-sweet chocolate chips
Sweetener:
- 1/4 cup (30 grams) powdered sugar
Instructions
- Pulverize Oreo cookies into fine, sandy texture using a food processor, ensuring no large chunks remain.
- Combine crushed cookies with creamy peanut butter and powdered sugar in a mixing bowl, kneading until uniform consistency develops.
- Shape mixture into compact, bite-sized spheres approximately one inch in diameter, positioning them carefully on parchment-lined tray.
- Create smooth chocolate coating by microwaving chocolate chips in 30-second increments, stirring between intervals until completely liquefied and glossy.
- Delicately submerge each cookie sphere into melted chocolate, rotating to achieve complete, even coverage, then gently return to parchment surface.
- Transfer tray to refrigerator, allowing chocolate to solidify for 30-45 minutes at 40°F, ensuring firm, crisp exterior.
- Once chocolate has hardened, transfer cookie balls to serving platter, ready for indulgent consumption.
- Store remaining treats in sealed container within refrigerator for optimal texture and freshness up to one week.
Notes
- Choose a food processor or rolling pin to crush Oreos into fine, uniform crumbs for the smoothest texture.
- Keep ingredients at room temperature to ensure easier mixing and a more consistent cookie ball mixture.
- Use creamy peanut butter for a smoother consistency and better binding of ingredients.
- Chill the mixture briefly before rolling to prevent sticky hands and create more compact cookie balls.
- Melt chocolate slowly and carefully to avoid burning, stirring frequently for a glossy coating.
- Add extra crushed Oreos on top of chocolate-dipped balls for a decorative and crunchy finish.
- Store in an airtight container in the refrigerator for up to one week for maximum freshness.
- Prep Time: 15 minutes
- Cook Time: 5 minutes
- Category: Snacks, Desserts
- Method: Blending
- Cuisine: American
Nutrition
- Serving Size: 24
- Calories: 165 kcal
- Sugar: 12 g
- Sodium: 70 mg
- Fat: 10 g
- Saturated Fat: 3 g
- Unsaturated Fat: 6 g
- Trans Fat: 0 g
- Carbohydrates: 15 g
- Fiber: 1 g
- Protein: 3 g
- Cholesterol: 5 mg
Michael Thompson
Founder & Recipe Developer
Expertise
Education
Cascade Culinary Institute – Bend, OR
ServSafe Food Handler Certification – Portland, OR
Focus: Certified in core food safety and hygiene principles for both home and professional kitchens, with emphasis on ingredient handling, kitchen cleanliness, and safe preparation methods.
Mike’s kitchen journey began with a single goal: to make everyday meals feel like something worth celebrating.
After earning his Certificate in Culinary Arts from Cascade Culinary Institute, he spent years working with local farmers and small kitchens across Oregon, learning the beauty of seasonal, small-batch cooking.
Mike’s approach is simple, cook with what’s fresh, keep it approachable, and always leave room for a little creativity. When he’s not testing yogurt marinades or designing single-serving meals, you’ll find him hiking trails or hunting down the best berries at local markets.