
Golden Pear Crumble Recipe with Sweet Buttery Layers
Sweet memories often bloom around a homemade pear crumble that whispers comfort and warmth.
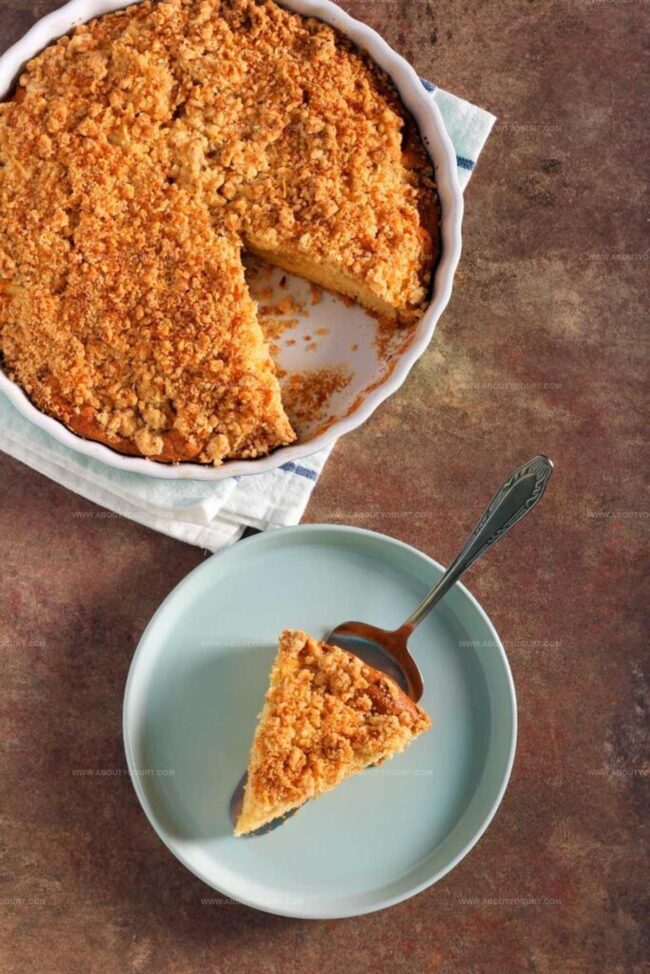
Clusters of ripe, juicy fruit nestle beneath a golden, crispy topping that crackles with each spoonful.
Autumn’s gentle embrace arrives through this simple dessert, inviting you to savor each delectable bite.
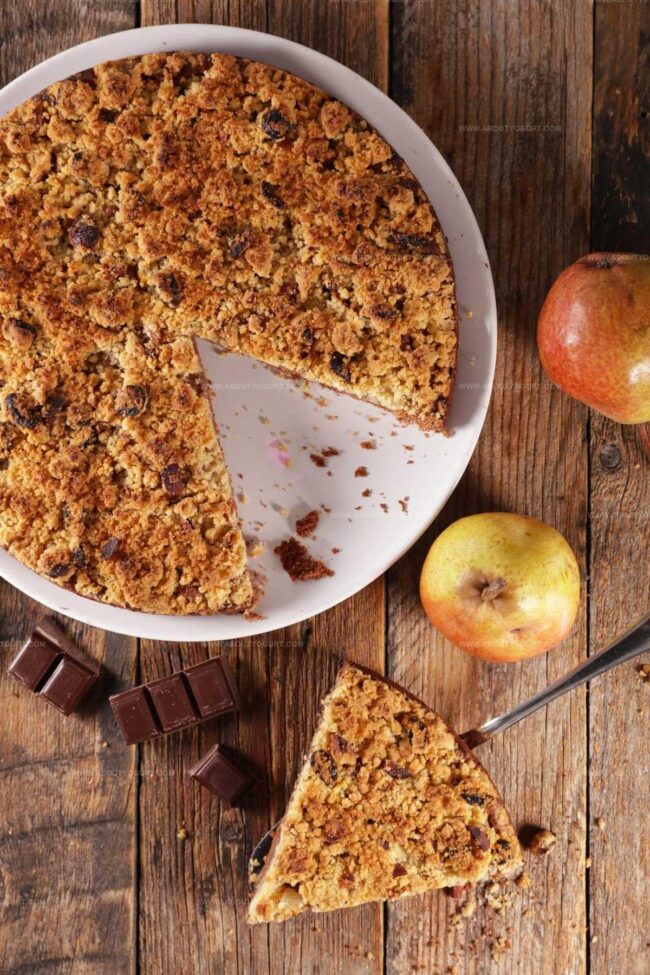
Fragrant cinnamon and nutmeg dance alongside soft, caramelized pears, creating a symphony of rustic flavors.
Baking this treat fills your kitchen with an irresistible aroma that draws everyone closer.
Perfectly balanced between tart and sweet, this dessert promises to become a cherished recipe you’ll return to again and again.
Grab a fork and indulge in pure, uncomplicated deliciousness that celebrates the season’s bounty.
Why Mary Berry Pear Crumble Is A Sweet Comfort
Mary Berry Pear Crumble Ingredient List
Fruits:Base Ingredients:Crumble Topping:Serving Suggestions:Simple Steps For Mary Berry Pear Crumble
Step 1: Warm Up the Oven
Fire up your oven to 180C (350F) and let it get toasty while you prepare the crumble.
Step 2: Prepare the Pear Base
Carefully peel and slice your pears into delightful bite-sized pieces. Toss them with:Spread the pear mixture evenly in a baking dish, creating a delicious foundation for your crumble.
Step 3: Create the Crumble Topping
Grab a mixing bowl and start working magic with your ingredients. Gently rub butter into flour until the mixture looks like coarse breadcrumbs. Fold in:Mix everything until it develops a lovely, crumbly texture that promises a delightful crunch.
Step 4: Assemble and Decorate
Sprinkle the golden crumble topping generously over the pear base. Dust the surface with a sparkling layer of demerara sugar for extra caramelized goodness.
Step 5: Bake to Perfection
Slide the baking dish into the preheated oven. Let it bake for 40-45 minutes until the top turns a gorgeous golden brown and the pears start bubbling with excitement.
Step 6: Serve and Enjoy
Remove from the oven and let it cool slightly. Serve warm with a luxurious dollop of cream or a scoop of vanilla ice cream for the ultimate comfort dessert.
Tips That Work For Mary Berry Pear Crumble
Fresh Takes On Mary Berry Pear Crumble
Great Matches With Mary Berry Pear Crumble
Best Way To Store Mary Berry Pear Crumble
FAQs About Mary Berry Pear Crumble
Yes, you can use various pear varieties like Bosc, Anjou, or Bartlett. Just ensure they’re ripe but firm for the best texture.
Lemon zest adds brightness and helps prevent pears from browning, but you can omit it if you don’t have it on hand.
Substitute regular flour with gluten-free flour blend and use gluten-free oats to make the crumble suitable for gluten-sensitive individuals.
Choose pears that are ripe but still slightly firm. Overly soft pears will turn mushy during baking and lose their shape.
Print
Pear Crumble Recipe
- Total Time: 55-60 minutes
- Yield: 4 1x
Description
Homemade Pear Crumble brings rustic comfort straight from grandma’s kitchen, blending sweet ripe pears with a golden, buttery crumble topping. Warm spices and caramelized fruit invite you to savor each delightful spoonful of this classic autumn dessert.
Ingredients
Fresh Produce:
- 6 pears (ripe)
- 1 lemon (zest)
Dry Ingredients:
- 175 grams (6.2 ounces) plain flour
- 50 grams (1.8 ounces) rolled oats
- 50 grams (1.8 ounces) ground almonds
Sweeteners and Fats:
- 100 grams (3.5 ounces) caster sugar
- 25 grams (0.9 ounces) demerara sugar
- 100 grams (3.5 ounces) cold unsalted butter
Instructions
- Warm the oven to 180°C (350°F) to prepare for baking the dessert.
- Carefully remove the skin from pears, extract the cores, and slice them into uniform pieces.
- Gently combine pear slices with fragrant lemon zest and sweet caster sugar in a suitable baking dish, ensuring even distribution.
- Using fingertips, delicately work cold butter into flour until the mixture resembles coarse breadcrumbs.
- Incorporate rolled oats and chopped almonds into the crumbly flour mixture, creating a textured topping.
- Evenly distribute the nutty crumble mixture across the seasoned pear base, covering the fruit completely.
- Sprinkle demerara sugar over the top to create a sparkling, caramelized crust during baking.
- Place the dish in the preheated oven and bake for 40-45 minutes until the surface turns golden brown and the fruit filling becomes bubbly.
- Remove from the oven and allow to cool for a few minutes, allowing the flavors to settle.
- Serve warm, accompanied by a dollop of fresh cream or a scoop of creamy vanilla ice cream.
Notes
- Choose ripe but firm pears to prevent mushy texture and maintain perfect bite in the crumble.
- Adjust sugar levels based on natural sweetness of pears, tasting fruit before adding sugar to balance flavors.
- Toast almonds briefly before adding to crumble topping to enhance their nutty depth and create extra crunch.
- Make this recipe gluten-free by substituting regular flour with almond or coconut flour, keeping the same delightful texture.
- Prep Time: 15 minutes
- Cook Time: 40-45 minutes
- Category: Desserts
- Method: Baking
- Cuisine: British
Nutrition
- Serving Size: 4
- Calories: 327kcal
- Sugar: 29g
- Sodium: 2mg
- Fat: 15g
- Saturated Fat: 9g
- Unsaturated Fat: 6g
- Trans Fat: 0g
- Carbohydrates: 44g
- Fiber: 4g
- Protein: 3g
- Cholesterol: 30mg
Michael Thompson
Founder & Recipe Developer
Expertise
Education
Cascade Culinary Institute – Bend, OR
ServSafe Food Handler Certification – Portland, OR
Focus: Certified in core food safety and hygiene principles for both home and professional kitchens, with emphasis on ingredient handling, kitchen cleanliness, and safe preparation methods.
Mike’s kitchen journey began with a single goal: to make everyday meals feel like something worth celebrating.
After earning his Certificate in Culinary Arts from Cascade Culinary Institute, he spent years working with local farmers and small kitchens across Oregon, learning the beauty of seasonal, small-batch cooking.
Mike’s approach is simple, cook with what’s fresh, keep it approachable, and always leave room for a little creativity. When he’s not testing yogurt marinades or designing single-serving meals, you’ll find him hiking trails or hunting down the best berries at local markets.