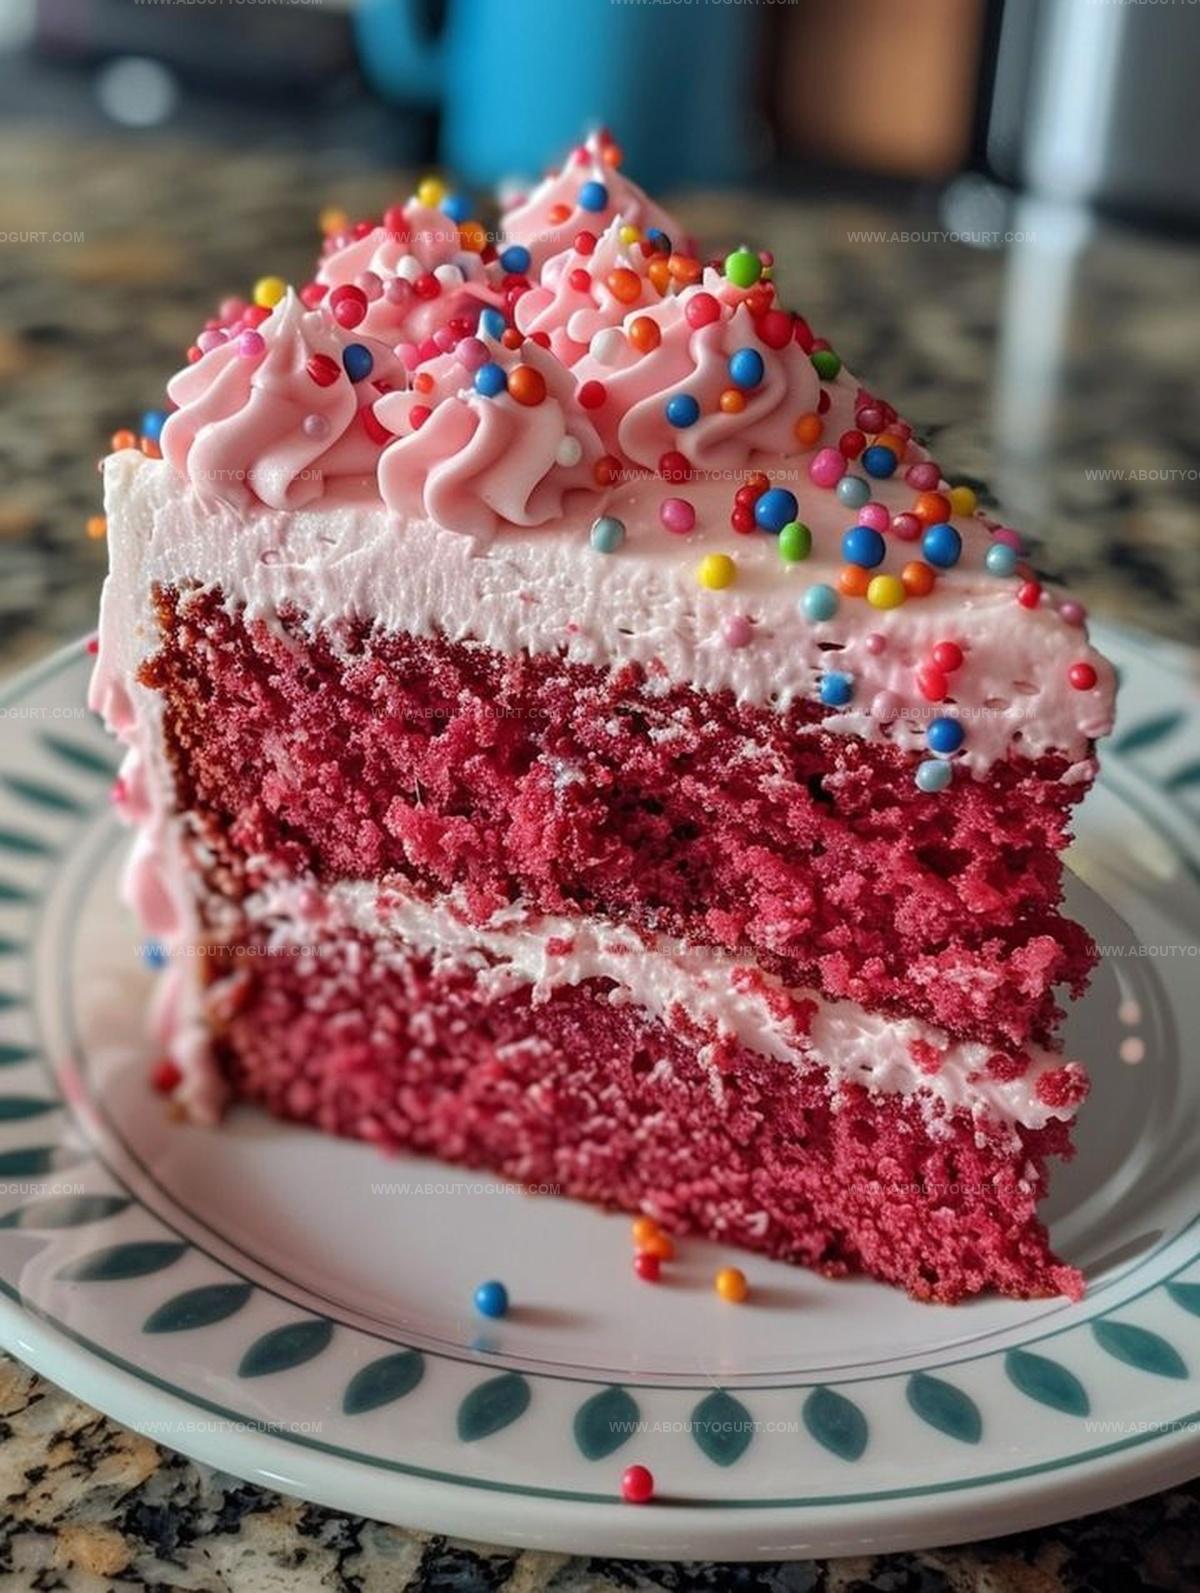
Pink Velvet Cake Recipe for Sweet Moments at Home
Crafting a delightful pink velvet cake brings pure magic to your baking adventure.
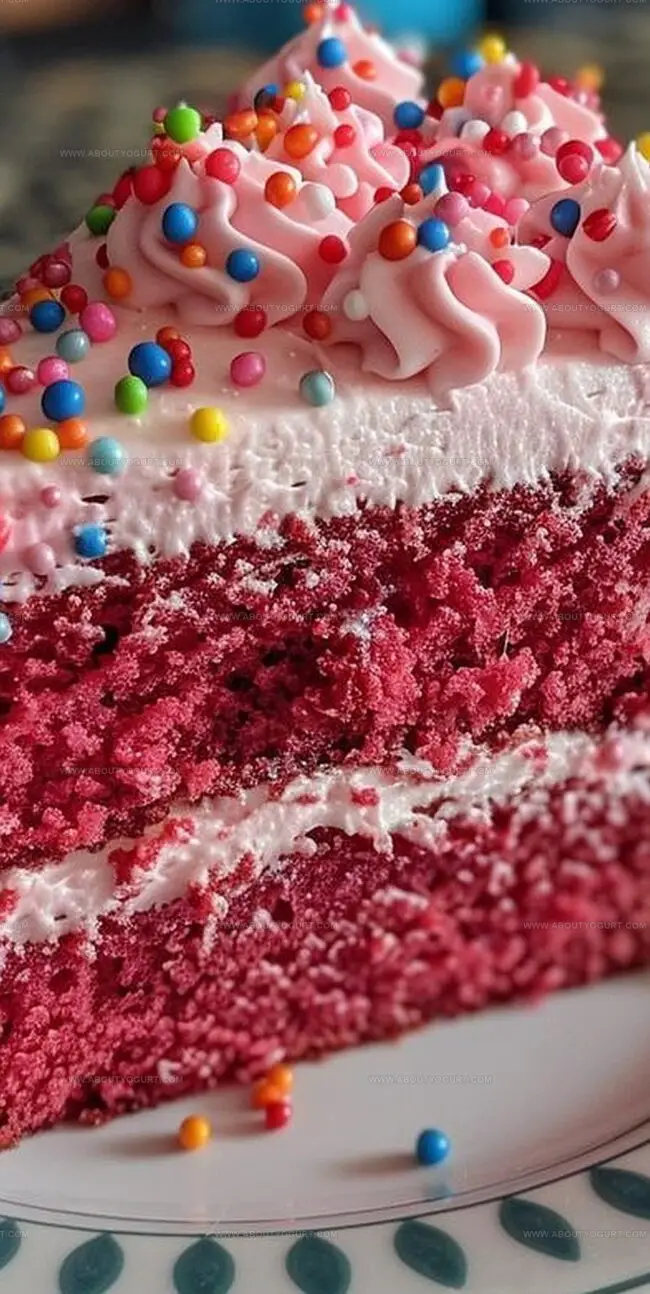
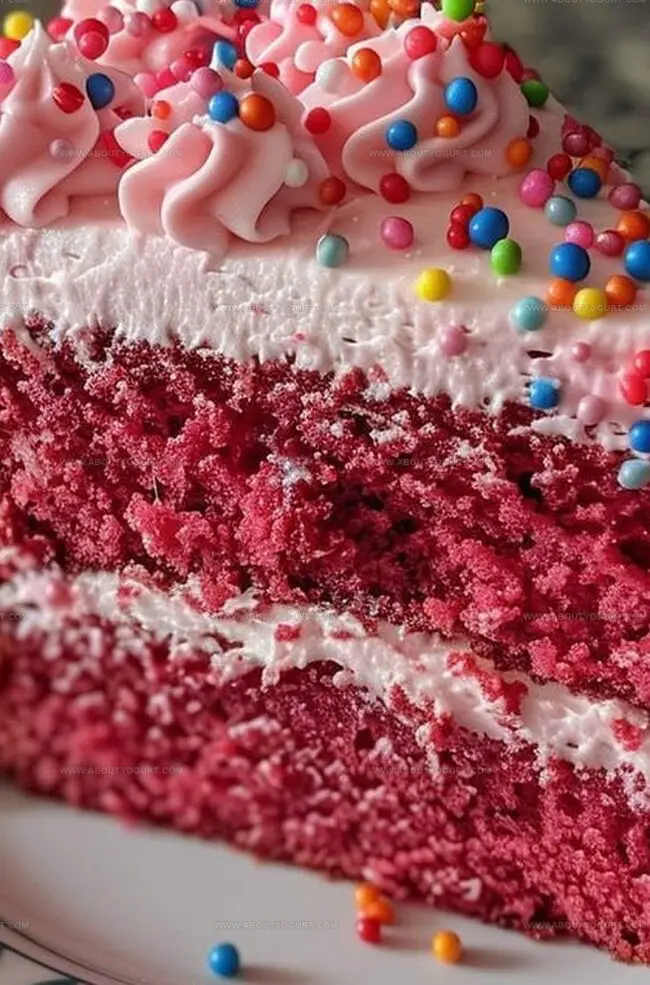
Soft pink hues dance across layers of tender crumb, promising decadent sweetness.
Unexpected hints of cocoa create subtle depth in this classic dessert.
Elegant yet approachable, this recipe welcomes bakers of every skill level.
Delicate cream cheese frosting promises a creamy complement to each romantic slice.
Whispers of vanilla and gentle food coloring transform ordinary ingredients into something extraordinary.
Bake this stunning cake and watch smiles bloom around your table.
Pink Velvet Cake’s Pretty Perfection
Ingredients for Pink Velvet Cake
Cake Ingredients:Leavening and Seasoning Agents:Moisture and Flavor Ingredients:Frosting Ingredients:How to Make Pink Velvet Cake with Flair
Step 1: Prepare Baking Station
Warm up the oven to a cozy 350F. Lovingly coat three 8-inch round cake pans with butter and dust with flour to prevent sticking.
Step 2: Mix Dry Ingredients
Grab a medium bowl and whisk together the dry ingredients:Blend until perfectly combined.
Step 3: Create Butter Mixture
In a spacious bowl, cream together softened butter and sugar until the mixture looks light and airy. Gently incorporate eggs one by one, mixing thoroughly after each addition. Splash in vanilla extract for that delightful flavor.
Step 4: Combine Wet and Dry Ingredients
Slowly add the flour mixture to the butter blend, alternating with buttermilk and sour cream. Start and end with flour. Mix until just combined – don’t overwork the batter.
Step 5: Add Gorgeous Pink Color
Pour in pink food coloring and mix until the batter reaches a beautiful rosy shade.
Step 6: Prepare for Baking
Evenly distribute the batter among the prepared pans, smoothing the tops with a spatula.
Step 7: Bake and Cool
Slide the pans into the oven and bake for 25-30 minutes. Check doneness by inserting a toothpick – it should come out clean. Let cakes rest in pans for 10 minutes, then transfer to wire racks for complete cooling.
Step 8: Whip Up Cream Cheese Frosting
Beat softened butter and cream cheese until creamy. Gradually fold in powdered sugar and vanilla extract. Mix until the frosting becomes smooth and fluffy.
Step 9: Layer and Frost
Place the first cake layer on a serving plate. Spread a generous layer of frosting. Repeat with remaining layers.
Step 10: Final Frosting Flourish
Cover the entire cake with remaining frosting, creating a beautiful, smooth finish. Decorate as your heart desires.
Pro Tips for Fluffy Pink Velvet Cake
Variations to Customize Pink Velvet Cake
Pairing Suggestions for Pink Velvet Cake
Best Storage Practices for Pink Velvet Cake
Pink Velvet Cake FAQs
This pink velvet cake uses pink food coloring instead of red, creating a soft, feminine twist on the classic recipe while maintaining the same tender, velvety texture.
While buttermilk provides the best tangy flavor and tender crumb, you can substitute with 1 cup of milk mixed with 1 tablespoon of white vinegar or lemon juice as an alternative.
Ensure you don’t overmix the batter and don’t overbake. Check the cake at 25 minutes and remove from the oven as soon as a toothpick comes out clean to maintain moisture.
Print
Pink Velvet Cake Recipe
- Total Time: 45-50 minutes
- Yield: 12 1x
Description
Indulgent pink velvet cake whispers romance with its delicate rose-tinted crumb and luxurious cream cheese frosting. Elegant layers promise a dreamy dessert experience that delights your senses and celebrates sweet moments of pure culinary bliss.
Ingredients
Cake Dry Ingredients:
- 2 1/2 cups (300 grams) all-purpose flour
- 2 1/2 teaspoons baking powder
- 1/2 teaspoon baking soda
- 1/2 teaspoon salt
Cake Wet Ingredients:
- 1 cup (227 grams) unsalted butter, softened
- 1 1/2 cups (300 grams) granulated sugar
- 4 large eggs
- 1 teaspoon vanilla extract
- 1 cup (240 milliliters) buttermilk
- 1/4 cup (60 milliliters) sour cream
Coloring:
- Pink food coloring
Instructions
- Prepare the oven by heating to 350F (175C) and prepare three 8-inch round cake pans with grease and flour coating.
- Combine dry ingredients like flour, baking powder, baking soda, and salt in a medium mixing bowl, whisking thoroughly to ensure even distribution.
- Using a large bowl, cream butter and sugar until the mixture becomes airy and pale, incorporating eggs individually and ensuring complete integration after each addition. Introduce vanilla extract and mix well.
- Gradually incorporate the flour mixture into the wet ingredients, alternating with buttermilk and sour cream. Blend until ingredients are just combined, avoiding overmixing.
- Introduce pink food coloring, stirring consistently to achieve a uniform rosy hue throughout the batter.
- Distribute the batter equally among prepared cake pans, smoothing the surfaces to create level layers.
- Bake for 25-30 minutes at 350F, checking doneness with a toothpick. Allow cakes to rest in pans for 10 minutes, then transfer to wire cooling racks until completely temperature-neutral.
- Prepare cream cheese frosting by blending butter and cream cheese until smooth. Gradually fold in powdered sugar and vanilla, whipping until achieving a light, creamy consistency.
- Assemble the cake by positioning first layer on a serving plate, spreading frosting between each subsequent layer.
- Complete the decoration by coating entire cake surface with remaining frosting, creating a polished and elegant presentation.
Notes
- Adjust food coloring carefully to achieve a soft, delicate pink hue without overpowering the cake’s natural flavor.
- Room temperature ingredients ensure smoother batter and more even cake texture, helping ingredients blend seamlessly.
- Avoid overmixing batter to prevent dense, tough cake layers; stop mixing once ingredients are just combined for a tender crumb.
- Consider dairy-free alternatives like almond milk and coconut cream for lactose-intolerant guests, maintaining the cake’s delicate structure and moistness.
- Prep Time: 20 minutes
- Cook Time: 25-30 minutes
- Category: Desserts
- Method: Baking
- Cuisine: American
Nutrition
- Serving Size: 12
- Calories: 414 kcal
- Sugar: 38 g
- Sodium: 250 mg
- Fat: 20 g
- Saturated Fat: 12 g
- Unsaturated Fat: 7 g
- Trans Fat: 0.5 g
- Carbohydrates: 53 g
- Fiber: 1.5 g
- Protein: 6 g
- Cholesterol: 95 mg
Sarah Mitchell
Content Specialist & Home Cooking Enthusiast
Expertise
Education
Asheville-Buncombe Technical Community College – Asheville, NC
American Fitness Professionals & Associates – Online
Sarah’s passion for food was sparked by weekend trips to the farmers’ market and her belief that healthy meals should never feel boring.
After earning her culinary diploma and becoming a certified Nutrition and Wellness Consultant, she set out to help others fall in love with simple, wholesome cooking.
She’s all about celebrating the small wins in the kitchen: a colorful yogurt bowl, a new twist on a classic dish, or a homemade snack that feels just a little extra special.
Outside the kitchen, Sarah is a gardener at heart, a yoga enthusiast, and a believer that fresh herbs can brighten any meal, and any day.