No-Knead Bread Recipe for Soft, Fluffy Loaves
Crafting homemade no-knead bread can feel like magic when you discover how simple the process becomes.
Flour, water, and a pinch of yeast combine to create something extraordinary.
Professional bakers have long kept this technique a delightful secret.
Anyone can master this straightforward method without complex steps or specialized equipment.
My grandmother would laugh at how effortlessly delicious bread emerges from such minimal effort.
Warm, crusty slices await you with minimal kitchen time and maximum flavor potential.
Let’s transform basic ingredients into a spectacular loaf that will impress even seasoned bread enthusiasts.
Why Quick And Easy No-Knead Bread Is A Hit
What You’ll Need For Quick And Easy No-Knead Bread
Flour and Dry Ingredients:Liquid Ingredient:Baking and Preparation Support:How To Make Quick And Easy No-Knead Bread
Step 1: Combine Dry Ingredients
Mix flour, yeast, and salt in a spacious mixing bowl until evenly distributed. The ingredients will blend smoothly and create a perfect base for your bread.
Step 2: Add Water and Create Dough
Pour warm water into the dry ingredients and stir with a wooden spoon. Mix until a shaggy, sticky dough develops. The texture might look messy, but this is exactly how it should appear.
Step 3: Let Dough Rise
Cover the bowl with a damp towel and place in a warm, undisturbed location. Allow the dough to expand and rise for 2-3 hours until it doubles in volume and becomes puffy.
Step 4: Prepare Oven and Bakeware
Set oven temperature to 450°F. Place a Dutch oven with its lid inside the oven to heat simultaneously.
Step 5: Shape Bread Dough
Sprinkle flour on a clean countertop. Gently transfer dough and fold edges inward multiple times to create a round loaf shape. Use flour on hands if dough feels sticky.
Step 6: Transfer Dough to Baking Surface
Place shaped dough onto parchment paper. Ensure enough paper extends on sides for easy lifting.
Step 7: Bake First Phase
Carefully remove hot Dutch oven. Transfer dough using parchment paper. Cover with lid and bake for 30 minutes.
Step 8: Final Baking Stage
Remove lid and continue baking for 15 minutes until bread turns golden brown and develops a crispy crust.
Step 9: Cool and Serve
Remove bread using parchment paper and place on a wire rack. Allow bread to cool completely before slicing to maintain perfect texture.
Helpful Baking Tips For Quick And Easy No-Knead Bread
Simple Changes To Quick And Easy No-Knead Bread
What Goes Well With Quick And Easy No-Knead Bread
How To Store Quick And Easy No-Knead Bread Properly
Quick And Easy No-Knead Bread Questions Answered
Rapid rise or instant yeast is perfect for this recipe because it activates quickly and doesn’t require proofing, making the bread-making process simpler and faster.
You can substitute part or all of the all-purpose flour with whole wheat flour, but keep in mind that the bread might be denser and slightly less fluffy. Start by replacing 25-30% of the flour to maintain a good texture.
Preheating the Dutch oven creates a steamy environment that helps develop a crispy, golden crust and allows the bread to rise more evenly during the first part of baking. The hot surface mimics professional bread-baking techniques.
Print
Quick and Easy No-Knead Bread Recipe
- Total Time: 2 hours 55 minutes
- Yield: 8 1x
Description
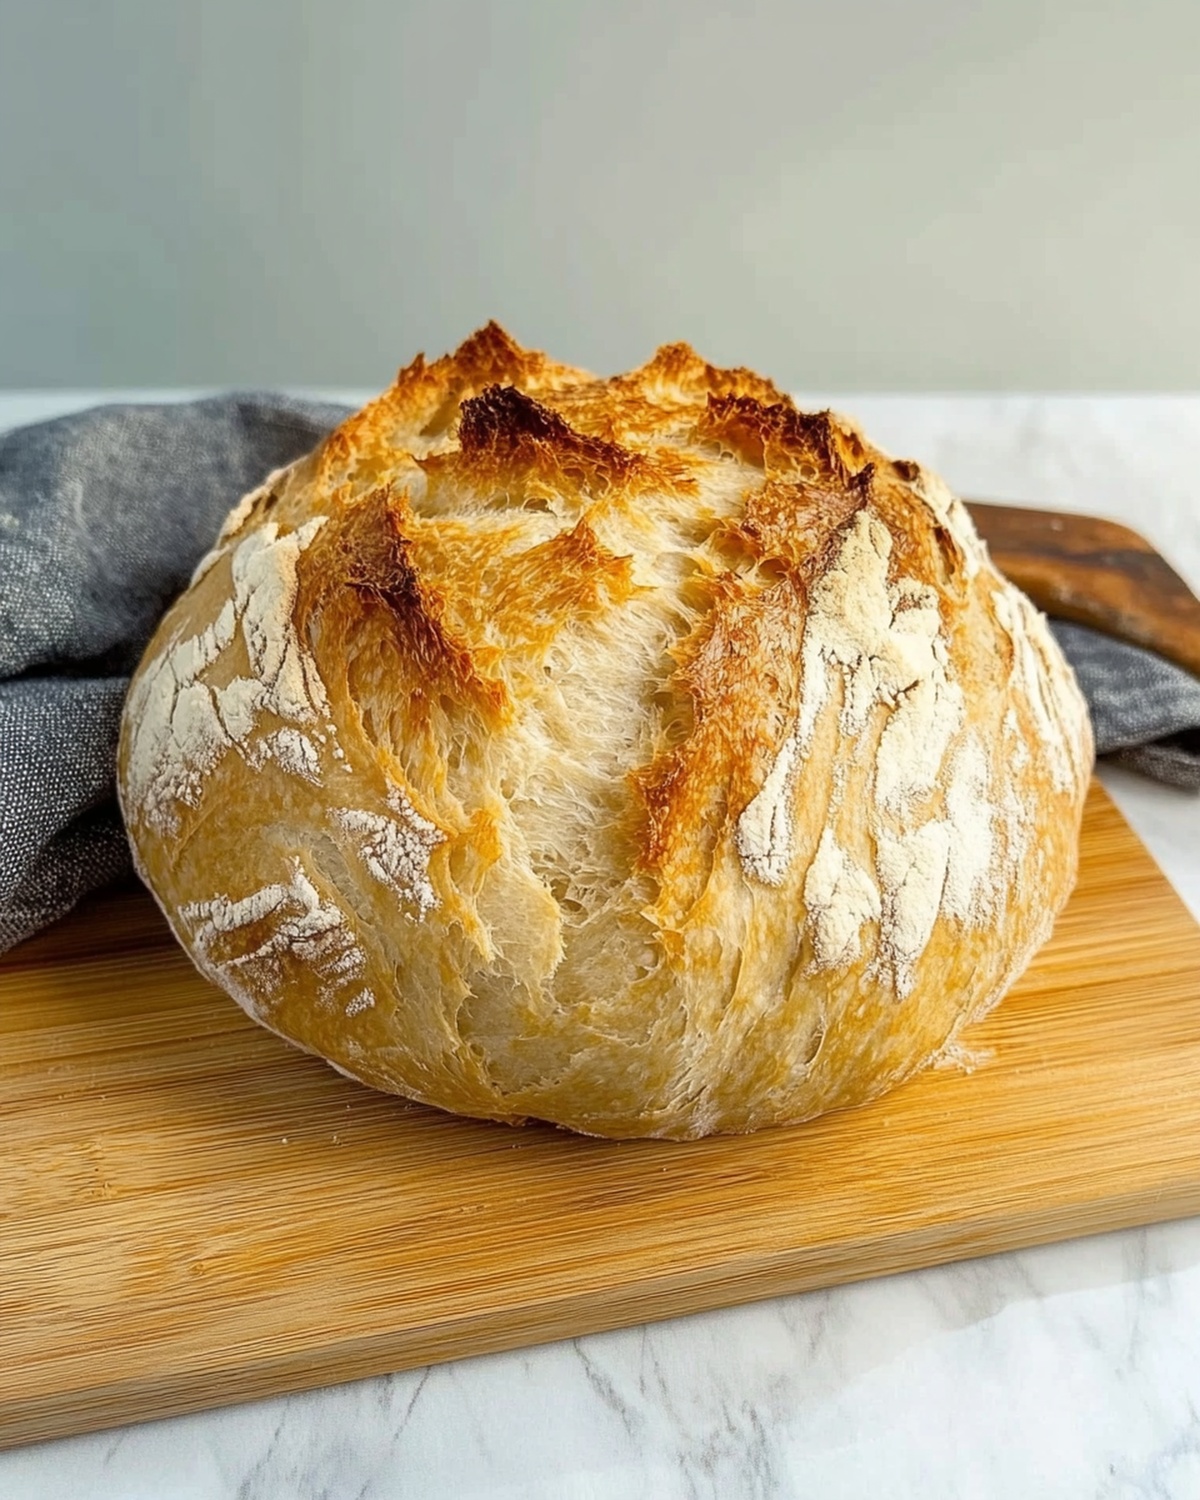
Homemade no-knead bread brings rustic charm to kitchen adventures with minimal effort. Simple ingredients and patient waiting reward you with a golden, crusty loaf that fills your home with irresistible warmth and comfort.
Ingredients
Bread Ingredients:
- 3 cups (720 ml) bread flour
- 1 1/2 teaspoons (7.5 ml) salt
Leavening and Liquid Ingredients:
- 1 packet (2 teaspoons or 10 ml) rapid rise yeast
- 1 1/2 cups (360 ml) warm water
Instructions
- Blend flour, rapid rise yeast, and salt in a spacious mixing vessel, creating a uniform dry mixture.
- Pour warm water into the dry ingredients and stir thoroughly with a wooden implement until a shaggy, cohesive dough emerges.
- Drape a damp cloth over the bowl and let the dough relax in a sheltered environment like an inactive oven for 2-3 hours, allowing it to expand and develop volume.
- Thirty minutes before dough completion, activate the oven to 450°F and situate a Dutch oven with its lid inside to heat simultaneously.
- Dust a work surface with flour and gently transfer the risen dough, handling it delicately to preserve its airy structure.
- Softly manipulate the dough’s edges inward approximately six times, forming a rounded loaf with minimal handling.
- If adhesive, lightly powder hands with flour to prevent sticking during shaping.
- Slide the dough onto parchment paper, ensuring excess paper extends for convenient maneuvering.
- Extract the scorching Dutch oven and carefully lower the dough inside using the parchment paper’s edges.
- Seal the Dutch oven with its lid and bake for 30 minutes, allowing steam to develop a crisp exterior.
- Remove the lid and continue baking for an additional 15 minutes until the crust achieves a rich golden-brown hue.
- Transfer the bread to a wire cooling rack using the parchment paper, allowing complete temperature reduction before slicing.
- Once thoroughly cooled, slice and savor the artisan-style bread.
Notes
- Ensure water temperature is lukewarm (around 110°F) to activate yeast without killing it, preventing dense bread.
- Use bread flour for higher protein content, creating better gluten development and a chewier texture.
- Room temperature and humidity can affect dough rising, so adjust rising time accordingly by checking volume and texture.
- For gluten-free version, substitute bread flour with a gluten-free blend and add xanthan gum for structure.
- Prep Time: 10 minutes
- Cook Time: 45 minutes
- Category: Lunch, Dinner, Snacks
- Method: Baking
- Cuisine: American
Nutrition
- Serving Size: 8
- Calories: 190kcal
- Sugar: 0.1g
- Sodium: 290mg
- Fat: 0.5g
- Saturated Fat: 0.1g
- Unsaturated Fat: 0.3g
- Trans Fat: 0g
- Carbohydrates: 40g
- Fiber: 1.5g
- Protein: 6g
- Cholesterol: 0mg
Michael Thompson
Founder & Recipe Developer
Expertise
Education
Cascade Culinary Institute – Bend, OR
ServSafe Food Handler Certification – Portland, OR
Focus: Certified in core food safety and hygiene principles for both home and professional kitchens, with emphasis on ingredient handling, kitchen cleanliness, and safe preparation methods.
Mike’s kitchen journey began with a single goal: to make everyday meals feel like something worth celebrating.
After earning his Certificate in Culinary Arts from Cascade Culinary Institute, he spent years working with local farmers and small kitchens across Oregon, learning the beauty of seasonal, small-batch cooking.
Mike’s approach is simple, cook with what’s fresh, keep it approachable, and always leave room for a little creativity. When he’s not testing yogurt marinades or designing single-serving meals, you’ll find him hiking trails or hunting down the best berries at local markets.