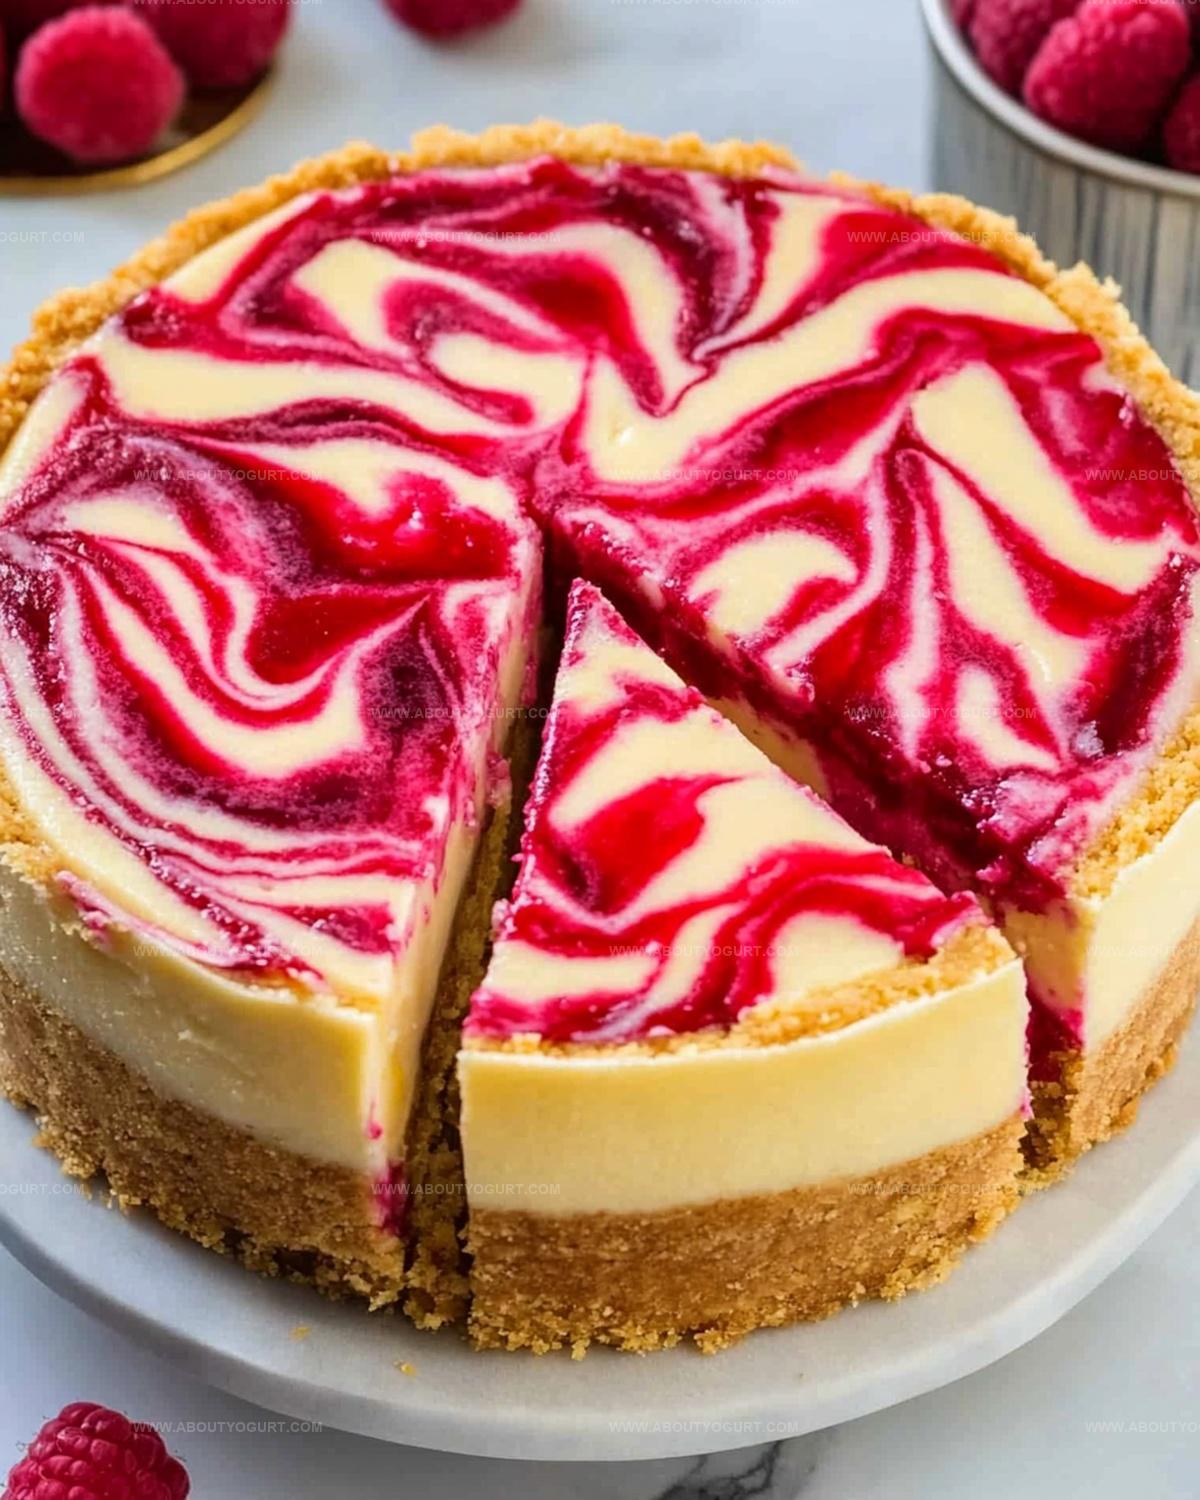
Raspberry Swirl Lemon Cheesecake Recipe to Impress
Sweet raspberry swirls dance through a creamy lemon cheesecake landscape, promising pure dessert magic.
Delicate flavors blend seamlessly in this elegant treat.
Smooth cream cheese creates a luxurious canvas for bright citrus notes.
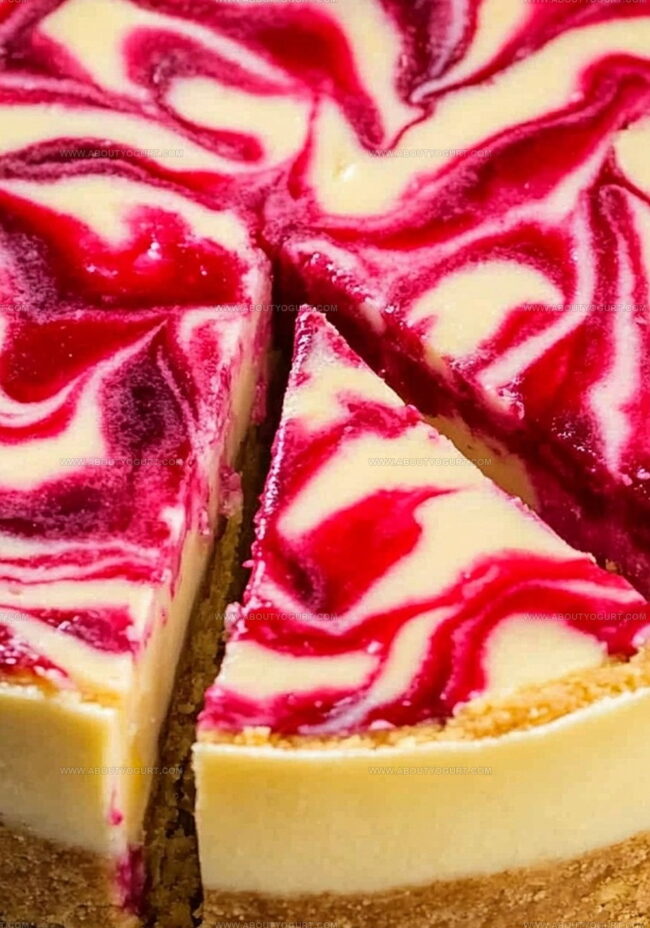
Tangy raspberries weave unexpected ribbons of color and intensity across each silky slice.
Guests will marvel at the stunning presentation and complex flavor profile.
Precision matters when crafting this sophisticated dessert that balances sweet and tart sensations.
Whip up this showstopping cheesecake and watch everyone’s eyes light with delicious anticipation.
Why Raspberry Swirl Lemon Cheesecake Is So Special
What You’ll Need For Raspberry Swirl Lemon Cheesecake
Crust Ingredients:Cheesecake Filling Ingredients:Raspberry Swirl and Topping Ingredients:How To Bake Raspberry Swirl Lemon Cheesecake
Step 1: Warm Up the Oven
Crank the oven to a toasty 350°F. Grab an 8 or 9-inch springform pan and give it a quick spray or butter rub to prevent sticking.
Step 2: Create the Crunchy Crust
Smash those Oreos into fine crumbs and mix with melted butter. Press the mixture firmly into the bottom and slightly up the sides of the pan. Pop it in the fridge to chill while you work on the filling.
Step 3: Whip Up Raspberry Sauce
Toss raspberries and sugar into a food processor. Blend until silky smooth. Strain through a fine mesh sieve to kick out those pesky seeds. Set the vibrant sauce aside.
Step 4: Mix the Creamy Cheesecake Base
Grab your electric mixer and beat cream cheese until it’s super smooth and dreamy. Slowly add sugar, mixing on low speed. Pour in heavy cream, sour cream, zesty lemon zest, and tangy lemon juice. Mix until everything plays nice together.
Step 5: Incorporate the Eggs
Add eggs one by one, mixing gently. You want a creamy, luxurious batter that’s smooth as silk.
Step 6: Create the Swirly Design
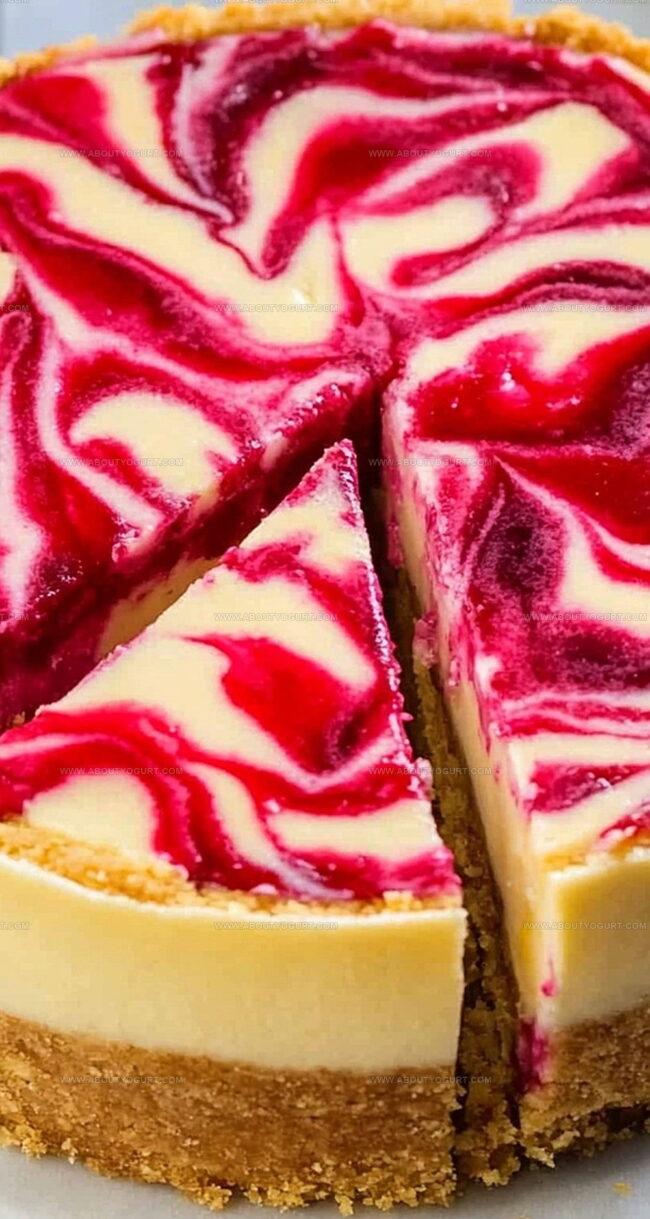
Pour the cheesecake batter into the waiting crust. Dot the top with small blobs of raspberry sauce. Use a knife to create beautiful, marbled swirls across the surface.
Step 7: Set Up the Water Bath
Place the springform pan inside a larger cake pan. Nestle this into a roasting pan. Fill the roasting pan with hot water halfway up the sides of the cake pan. This magical technique prevents water from sneaking into your cheesecake.
Step 8: Bake to Perfection
Slide the setup into the oven and bake for 60-70 minutes. The center should have a gentle jiggle when it’s done.
Step 9: Cool Down Slowly
Turn off the oven and let the cheesecake hang out inside for an hour. This helps prevent cracking and ensures a smooth texture.
Step 10: Chill and Prepare Topping
Remove from the oven, wrap in plastic, and refrigerate overnight. When ready to serve, chill a mixing bowl and whisk in the freezer for 5 minutes.
Step 11: Whip the Cream Topping
Beat heavy cream for a minute. Add powdered sugar and dry milk powder. Whip until you’ve got gorgeous, stiff peaks.
Step 12: Decorate and Serve
Pipe the whipped cream around the cheesecake edges. Scatter fresh raspberries on top. For picture-perfect slices, use a hot knife and wipe between each cut.
Helpful Baking Tips For Raspberry Swirl Lemon Cheesecake
Fun Ways To Switch Raspberry Swirl Lemon Cheesecake
Perfect Pairings For Raspberry Swirl Lemon Cheesecake
How To Store Raspberry Swirl Lemon Cheesecake Safely
Your Raspberry Swirl Lemon Cheesecake Questions Answered
A water bath helps prevent cracking by creating a moist, even baking environment and keeps the cheesecake’s surface smooth and creamy by protecting it from direct, harsh oven heat.
The center should have a slight jiggle when gently shaken – it will continue to set as it cools. If it’s completely firm, you’ve likely overbaked it, which can cause cracking and dryness.
Yes, this cheesecake actually benefits from being made a day in advance. Refrigerating overnight allows the flavors to develop and the texture to become perfectly smooth and creamy.
Print
Raspberry Swirl Lemon Cheesecake Recipe
- Total Time: 1 hour 25-35 minutes plus overnight chilling
- Yield: 8 1x
Description
Sweet raspberry ribbons dance through creamy lemon cheesecake, creating a dessert that balances tangy and rich flavors. Silky smooth filling nestled on a buttery graham cracker crust promises pure indulgence you won’t be able to resist.
Ingredients
Crust:
- 1 12 ounces (340 grams) Golden or Lemon Oreos, finely crushed
- 2 ounces (57 grams) / 1/4 cup butter, melted
Filling:
- 16 ounces (454 grams) cream cheese (not whipped, softened to room temperature)
- 3/4 cup (150 grams) granulated sugar
- 3 large eggs (at room temperature)
- 3 tablespoons heavy cream
- 1/3 cup (85 grams) sour cream or Greek yogurt
- Zest of 2 medium lemons
- 1/3 cup (80 milliliters) fresh lemon juice
Raspberry and Topping:
- 6 ounces (170 grams) fresh raspberries
- 2 tablespoons granulated sugar
- 1 cup (240 milliliters) / 8 ounces (227 grams) heavy whipping cream
- 2 tablespoons powdered sugar
- 1 teaspoon dry milk powder
- Fresh raspberries (for garnish)
Instructions
- Prepare the oven at 350°F and lightly coat a springform pan with grease.
- Crush Oreos and blend with melted butter, pressing the mixture firmly into the pan’s bottom and slightly up the sides.
- Refrigerate the crust while preparing the filling.
- Pulverize raspberries with sugar in a food processor until completely smooth.
- Strain the raspberry mixture through a fine mesh sieve to eliminate seeds, then set aside.
- Using an electric mixer, cream the cream cheese for 3 minutes until velvety and uniform.
- Gradually incorporate granulated sugar at low speed, mixing for an additional 3 minutes.
- Blend in heavy cream, sour cream, lemon zest, and juice until thoroughly integrated.
- Gently fold in eggs one at a time, ensuring a creamy, consistent texture.
- Transfer the cheesecake batter into the prepared crust.
- Artfully distribute raspberry puree across the surface and create swirls using a knife.
- Create a water bath by placing the springform pan inside a larger cake pan, then situate within a roasting pan. Fill with hot water halfway up the pan’s sides to prevent moisture infiltration.
- Bake for 60-70 minutes until the center maintains a gentle wobble.
- Switch off the oven and allow the cheesecake to cool internally for one hour.
- Remove from water bath, wrap securely with plastic, and refrigerate overnight.
- Chill the mixing bowl and whisk in the freezer for 5 minutes.
- Whip heavy cream, then fold in powdered sugar and dry milk powder until stiff peaks form.
- Elegantly pipe whipped cream around the cheesecake’s perimeter.
- Garnish with fresh, vibrant raspberries.
- Slice using a hot, clean knife, wiping between each cut for pristine presentation.
Notes
- Experiment with gluten-free Oreo alternatives or graham cracker crusts for those with dietary restrictions.
- Ensure cream cheese is at room temperature to prevent lumps and create a smoother cheesecake texture.
- Use a gentle swirling technique when adding raspberry puree to create beautiful, consistent marble patterns without overmixing.
- Protect the delicate cheesecake from cracking by avoiding overmixing eggs and using the water bath method for even, gentle baking.
- Prep Time: 25 minutes
- Cook Time: 60-70 minutes
- Category: Desserts
- Method: Baking
- Cuisine: American
Nutrition
- Serving Size: 8
- Calories: 420 kcal
- Sugar: 31 g
- Sodium: 200 mg
- Fat: 32 g
- Saturated Fat: 20 g
- Unsaturated Fat: 10 g
- Trans Fat: 0.5 g
- Carbohydrates: 25 g
- Fiber: 2 g
- Protein: 6 g
- Cholesterol: 120 mg
Michael Thompson
Founder & Recipe Developer
Expertise
Education
Cascade Culinary Institute – Bend, OR
ServSafe Food Handler Certification – Portland, OR
Focus: Certified in core food safety and hygiene principles for both home and professional kitchens, with emphasis on ingredient handling, kitchen cleanliness, and safe preparation methods.
Mike’s kitchen journey began with a single goal: to make everyday meals feel like something worth celebrating.
After earning his Certificate in Culinary Arts from Cascade Culinary Institute, he spent years working with local farmers and small kitchens across Oregon, learning the beauty of seasonal, small-batch cooking.
Mike’s approach is simple, cook with what’s fresh, keep it approachable, and always leave room for a little creativity. When he’s not testing yogurt marinades or designing single-serving meals, you’ll find him hiking trails or hunting down the best berries at local markets.