Rice Krispie Peanut Butter Balls Recipe
Sweet memories of childhood snacks collide with delightful rice krispie peanut butter balls that promise pure indulgence.
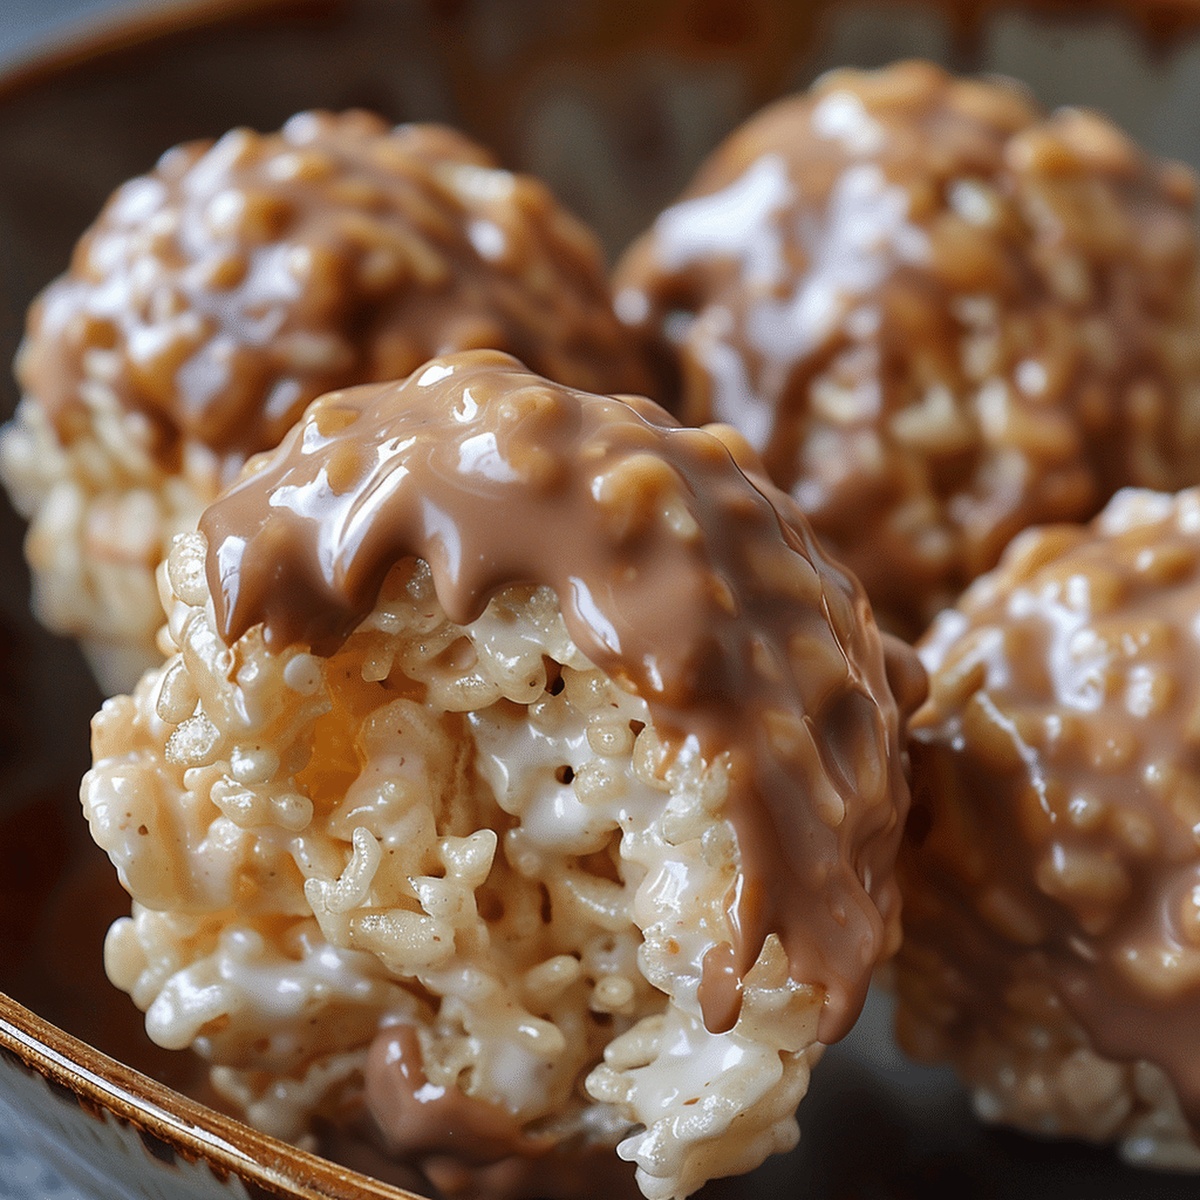
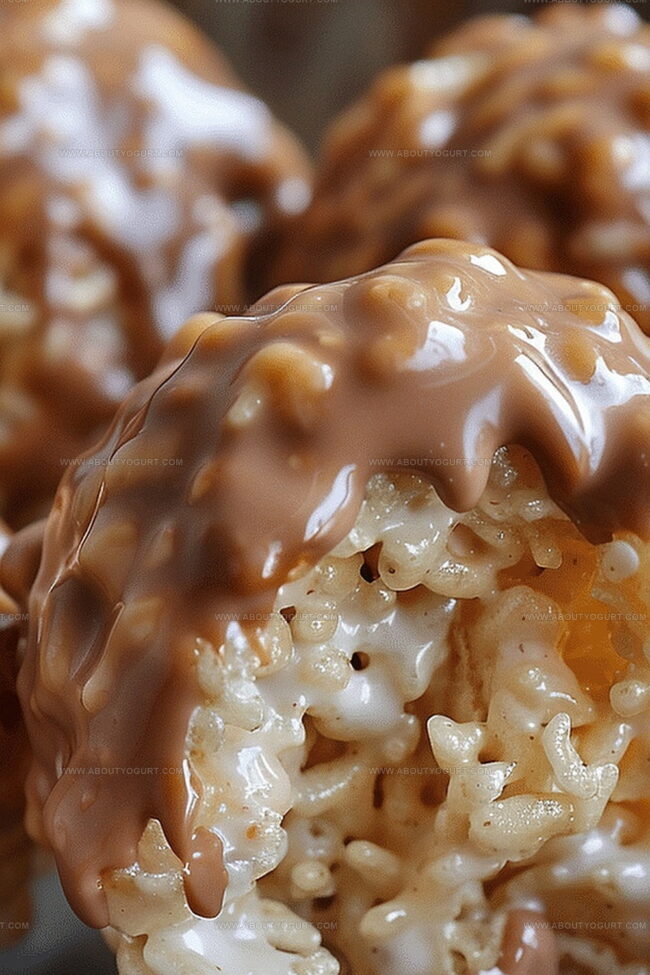
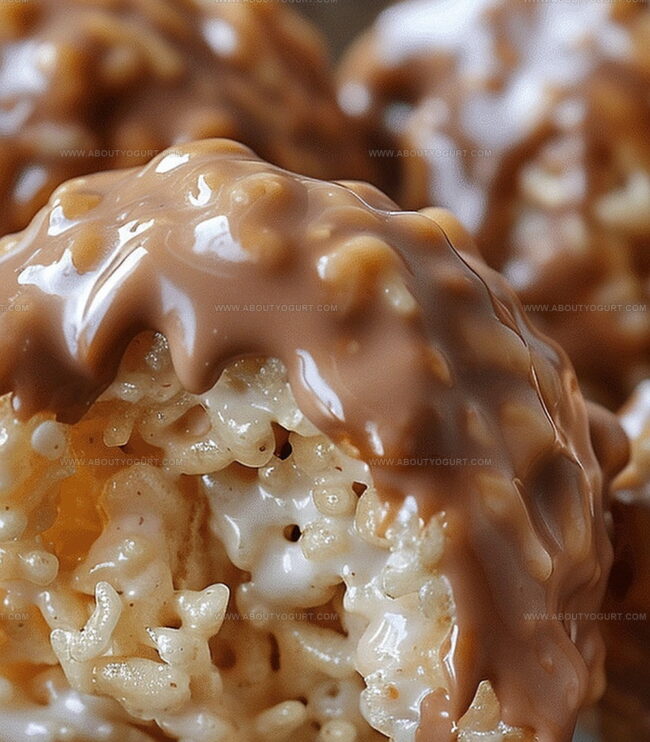
Crunchy cereal meets creamy peanut butter in a magical blend of textures.
Minimal ingredients combine to create these addictive no-bake treats that dance between salty and sweet.
Crafting these irresistible morsels requires just a few simple steps and minimal kitchen skills.
Chocolate coating adds an extra layer of decadence to these bite-sized delights.
Kids and adults alike will find themselves unable to resist popping these delectable spheres of joy.
Grab a mixing bowl and let the delicious adventure begin – you won’t regret diving into this crowd-pleasing recipe.
Rice Krispie Peanut Butter Balls That Delight
Ingredients To Make Rice Krispie Peanut Butter Balls
Base Ingredients:Coating Ingredients:Optional Garnish Ingredients:How To Make Perfect Rice Krispie Peanut Butter Balls
Step 1: Mix Delightful Ingredients
In a spacious mixing bowl, combine crispy cereal, creamy peanut butter, fluffy powdered sugar, and softened butter. Stir everything together until the mixture becomes cohesive and holds its shape perfectly.
Step 2: Shape Tasty Clusters
Using your hands or a small scoop, create bite-sized balls from the mixture. Gently roll each portion and place them on a parchment-lined baking sheet, ensuring they are evenly spaced.
Step 3: Chill and Firm
Transfer the baking sheet to the refrigerator and let the balls cool and solidify for half an hour. This helps them maintain their shape during the next steps.
Step 4: Chocolate Dipping Magic
Melt chocolate using a double boiler or microwave. Carefully dunk each chilled ball into the melted chocolate, using a fork to help coat them completely. Allow excess chocolate to drip off before returning to the baking sheet.
Step 5: Add Decorative Touches
While the chocolate is still wet, sprinkle your favorite toppings such as:Step 6: Final Chilling
Return the chocolate-covered balls to the refrigerator for another 30 minutes until the chocolate sets completely and becomes glossy.
Step 7: Serve and Enjoy
Remove from the refrigerator and serve chilled or at room temperature. These delectable treats are perfect for parties, snacks, or sweet indulgence.
Pro Tips For Fluffy Rice Krispie Peanut Butter Balls
Flavorful Variations For Rice Krispie Peanut Butter Balls
Pairings To Enjoy With Rice Krispie Peanut Butter Balls
Storage Hacks For Rice Krispie Peanut Butter Balls
Your Rice Krispie Peanut Butter Balls FAQs
Yes, you can substitute Rice Krispies with other crispy cereals like Corn Flakes or Chex for a similar texture and crunch.
Chilling helps the balls hold their shape and makes dipping easier, preventing them from falling apart in the melted chocolate.
Milk, dark, or white chocolate all work well. Use high-quality chocolate chips or melting wafers for the smoothest coating.
Use gluten-free crispy rice cereal and ensure your peanut butter and chocolate are certified gluten-free to make this recipe safe for those with gluten sensitivities.
Print
Rice Krispie Peanut Butter Balls Recipe
- Total Time: 1 hour 15 minutes
- Yield: 12 1x
Description
Sweet peanut butter Rice Krispie balls combine creamy richness with crispy crunch in a delightful no-bake treat. Simple ingredients and quick preparation make these irresistible morsels perfect for satisfying your dessert cravings.
Ingredients
Main Ingredients:
- 1 cup creamy peanut butter
- 2 cups Rice Krispies cereal
- 1/2 cup powdered sugar
Base/Binding Ingredients:
- 2 tablespoons (30 milliliters) unsalted butter, melted
Coating/Decoration Ingredients:
- 1 cup (170 grams) semi-sweet chocolate chips, melted for dipping
- Optional: Sprinkles or crushed peanuts for decoration
Instructions
- Blend Rice Krispies, peanut butter, powdered sugar, and melted butter in a large bowl until the mixture becomes cohesive and moldable.
- Using your hands, gently form compact spherical shapes approximately one tablespoon in size, placing them on a parchment-lined baking sheet.
- Refrigerate the formed balls for 30 minutes at 40°F to enhance structural integrity and minimize crumbling.
- Melt chocolate using a double boiler or microwave, ensuring a smooth, glossy consistency.
- Carefully immerse each chilled ball into the melted chocolate, utilizing a fork to ensure complete and even coating while allowing excess chocolate to drip away.
- Optional: While chocolate remains liquid, garnish with crushed peanuts or colorful sprinkles for added texture and visual appeal.
- Return chocolate-coated balls to the parchment sheet and refrigerate for an additional 30 minutes until chocolate solidifies completely.
- Serve immediately or store in an airtight container, enjoying either chilled or at ambient temperature for a delightful sweet and crunchy experience.
- Preparation requires approximately 15 minutes, with total chilling time around 1 hour.
Notes
- Swap traditional peanut butter with almond or sunflower seed butter for nut-free variations, ensuring allergy-friendly options.
- Use dark chocolate or sugar-free chocolate for a lower-sugar alternative that still delivers rich, decadent flavor.
- Ensure ingredients are at room temperature for smoother mixing and easier ball formation, preventing crumbly textures.
- Store balls in an airtight container between parchment layers to maintain freshness and prevent sticking for up to one week in the refrigerator.
- Prep Time: 15 minutes
- Cook Time: 0 minutes
- Category: Snacks, Desserts
- Method: Chilling
- Cuisine: American
Nutrition
- Serving Size: 12
- Calories: 188 kcal
- Sugar: 9 g
- Sodium: 42 mg
- Fat: 11 g
- Saturated Fat: 3 g
- Unsaturated Fat: 7 g
- Trans Fat: 0 g
- Carbohydrates: 18 g
- Fiber: 1 g
- Protein: 5 g
- Cholesterol: 6 mg
Sarah Mitchell
Content Specialist & Home Cooking Enthusiast
Expertise
Education
Asheville-Buncombe Technical Community College – Asheville, NC
American Fitness Professionals & Associates – Online
Sarah’s passion for food was sparked by weekend trips to the farmers’ market and her belief that healthy meals should never feel boring.
After earning her culinary diploma and becoming a certified Nutrition and Wellness Consultant, she set out to help others fall in love with simple, wholesome cooking.
She’s all about celebrating the small wins in the kitchen: a colorful yogurt bowl, a new twist on a classic dish, or a homemade snack that feels just a little extra special.
Outside the kitchen, Sarah is a gardener at heart, a yoga enthusiast, and a believer that fresh herbs can brighten any meal, and any day.