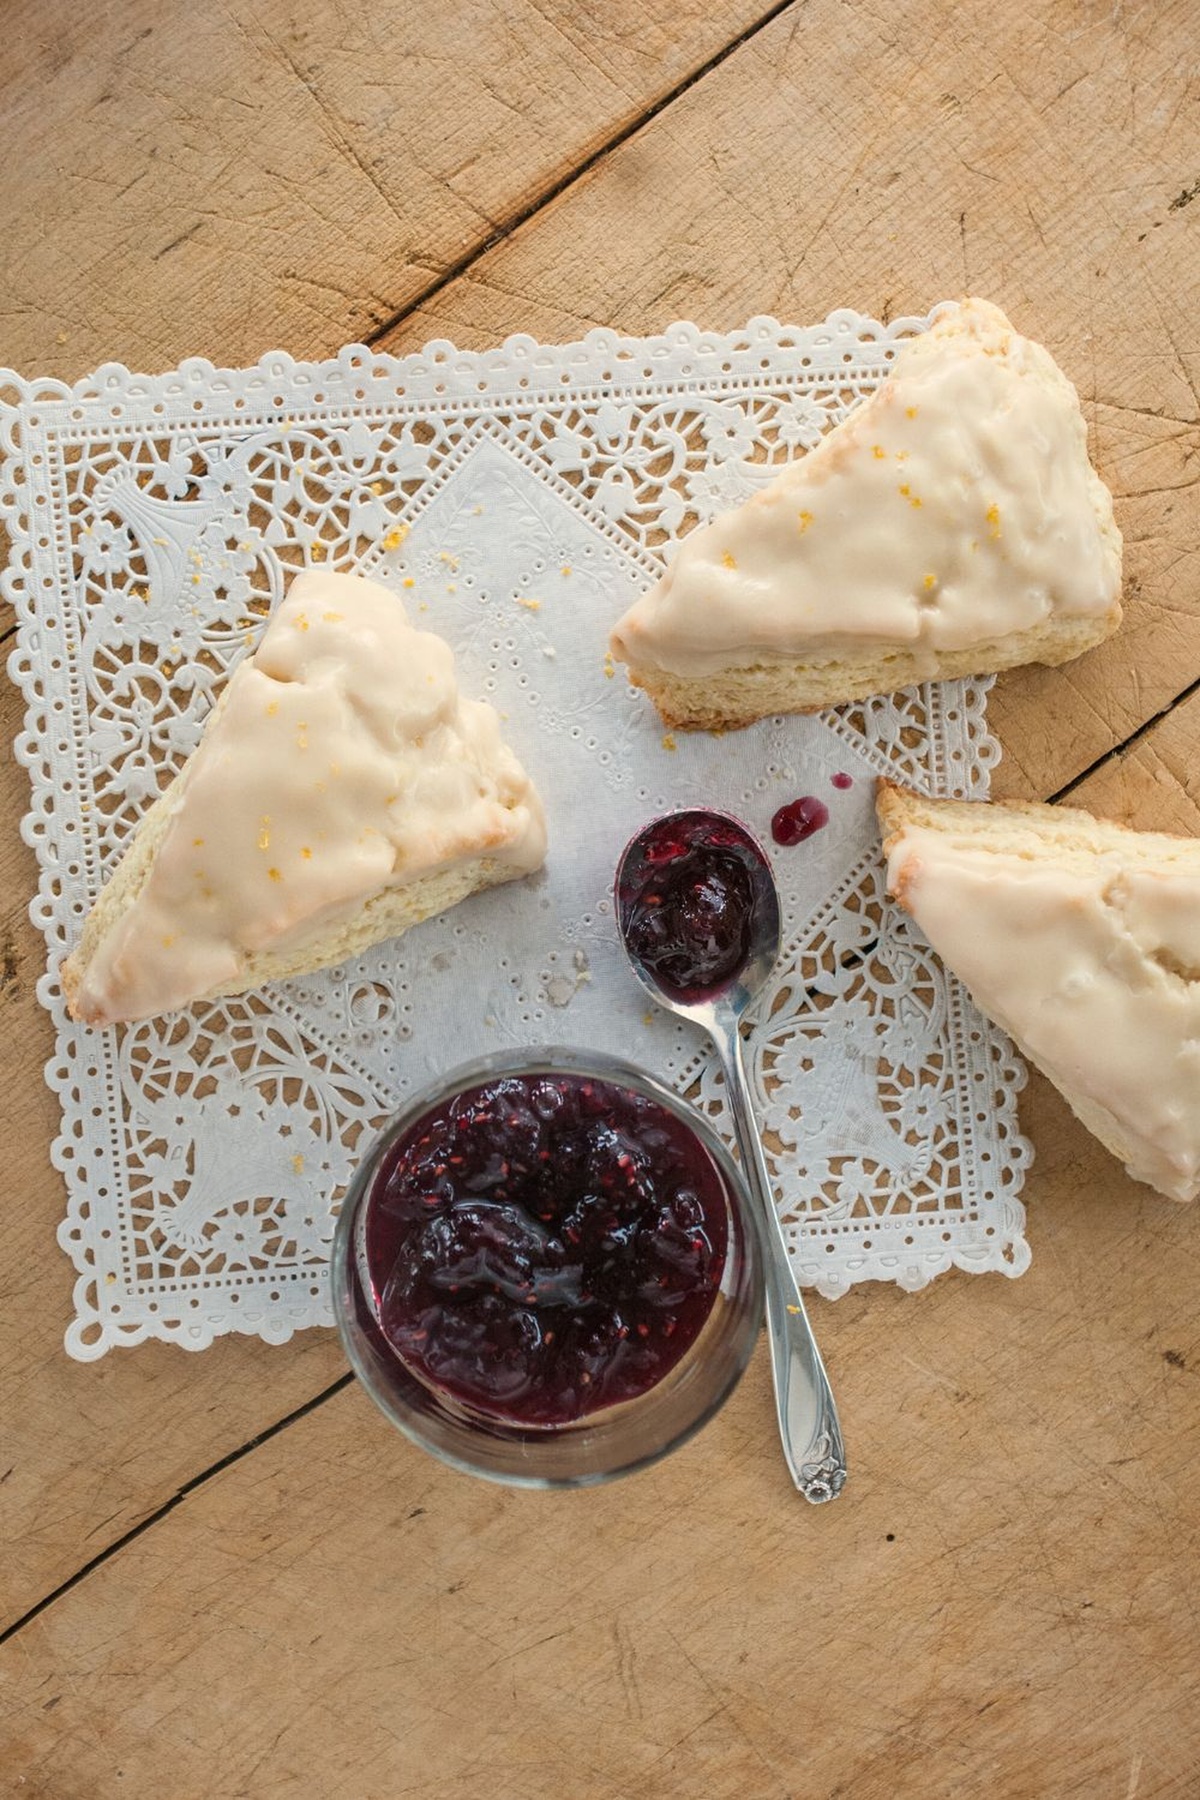
Fluffy Homemade Scone Recipe: Warm Buttery Goodness in Minutes
Freshly baked scones bring a delightful warmth to any morning gathering.
Memories of cozy bakeries and soft, crumbly textures dance through my mind.
British tea traditions inspire these delectable treats that melt in your mouth.
Butter-rich dough creates a canvas for endless flavor combinations.
Delicate and simple, scones invite creativity with each batch you prepare.
Experiment with sweet or savory additions to make this classic recipe uniquely yours.
You’ll find pure joy in every golden, perfectly baked bite.
Why Bero Scone Recipe Is A Tea-Time Favorite
What’s Needed For Bero Scone Recipe
Dry Ingredients:Wet Ingredients:Cold Ingredients:Finishing Ingredients:How To Make Bero Scone Recipe Easily

Step 1: Fire Up the Oven
Crank the oven to a toasty 400°F (204°C). Grab a baking sheet and line it with parchment paper or a silicone mat for easy cleanup.
Step 2: Create the Dry Foundation
In a large mixing bowl, combine:Whisk these ingredients together to create a perfect dry base.
Step 3: Work in the Butter
Add cold butter to the dry mixture. Use a pastry cutter or your fingertips to break down the butter until the mixture looks like coarse breadcrumbs with tiny butter pebbles scattered throughout.
Step 4: Blend the Wet Ingredients
In a separate bowl, whisk together:Pour these wet ingredients into the flour mixture, stirring gently until just combined. Don’t overmix – a few lumps are your friend.
Step 5: Shape the Dough
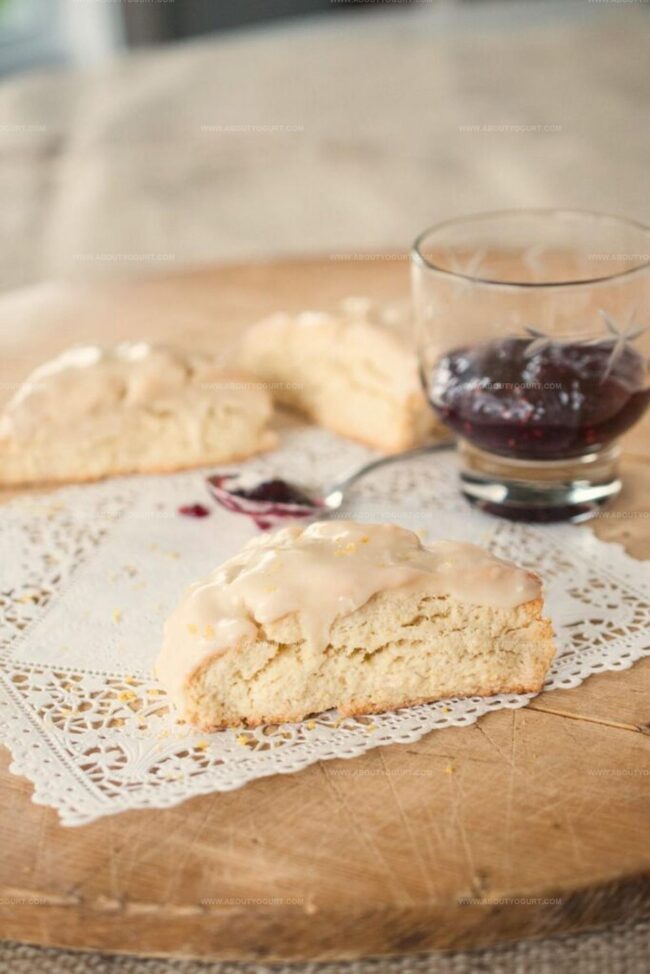
Transfer the dough onto a lightly floured surface. Gently pat it into a circular shape about 7 inches wide. Using a sharp knife, slice the circle into 8 equal wedges like you’re cutting a pizza.
Step 6: Prepare for Baking
Pop the scone wedges onto the prepared baking sheet. Slide them into the refrigerator for about 15 minutes to chill. Then brush the tops with a bit of extra cream for a beautiful golden finish.
Step 7: Bake to Perfection
Slide the baking sheet into the preheated oven. Bake for 18-22 minutes until the edges turn a gorgeous golden brown and the tops look beautifully crisp.
Step 8: Finish with Flair
Let the scones cool for a few minutes. Drizzle with a simple vanilla glaze made from powdered sugar, vanilla extract, and a splash of cream. Serve warm and enjoy the magic!
Tips For Perfecting Bero Scone Recipe
Tasty Spins On Bero Scone Recipe
Pairing Ideas For Bero Scone Recipe
How To Keep Bero Scone Recipe Fresh
Bero Scone Recipe Questions And Answers
Work the butter quickly and minimally to keep it cold, which creates flaky layers. Avoid overmixing the dough, as this can make scones tough and dense.
Yes, but reduce or eliminate added salt in the recipe to prevent the scones from becoming too salty. Unsalted butter gives you more control over the overall saltiness.
Look for golden-brown edges and a slightly firm center. When lightly pressed, they should spring back and not feel soggy or wet in the middle.
Print
Scone Recipe
- Total Time: 33-37 minutes
- Yield: 8 1x
Description
Scottish Highland Scones blend crumbly buttery goodness with traditional British baking charm. Rich cream and delicate texture invite warm kitchen memories while golden edges promise delightful homemade comfort you’ll savor with each delectable bite.
Ingredients
Main Ingredients:
- 2 cups (250g) all-purpose flour
- 1/3 cup (65g) granulated sugar
- 6 tablespoons (85g) cold butter, cubed
- 1 large egg
- 1/2 cup (120 milliliters) heavy cream
Leavening and Seasoning:
- 1 tablespoon baking powder
- 1/2 teaspoon salt
Glaze and Flavoring:
- 1 cup (120g) powdered sugar
- 12 tablespoons (180 milliliters) milk
- 1 teaspoon vanilla extract
- 1/2 teaspoon vanilla extract
Instructions
- Prepare a baking sheet with parchment paper or silicone mat for optimal non-stick surface.
- Sift together flour, sugar, baking powder, and salt in a large mixing bowl to ensure even distribution of dry ingredients.
- Incorporate cold butter into the dry mixture using a pastry cutter or fingertips, creating a texture resembling coarse breadcrumbs.
- Whisk together cream, egg, and vanilla extract in a separate bowl until thoroughly combined.
- Create a well in the center of the dry ingredients and pour in the liquid mixture, gently folding until just incorporated without overmixing.
- Transfer dough onto a lightly floured surface and gently shape into a circular disk approximately 1-inch thick.
- Carefully slice the disk into 8 equal triangular wedges using a sharp knife.
- Refrigerate the scones for 15 minutes to help maintain their structure during baking.
- Brush the top of each scone with additional cream to promote a golden, glossy finish.
- Bake in a preheated oven at 400°F (204°C) for 16-20 minutes, watching for a light golden-brown color.
- Remove from oven and allow to cool on a wire rack for 5-10 minutes.
- Prepare a simple vanilla glaze and drizzle over warm scones before serving.
Notes
- Opt for ice-cold butter straight from the fridge to achieve the flakiest, most tender scone texture.
- Use a light hand when mixing wet and dry ingredients to prevent tough, dense scones.
- Consider freezing the cut wedges for 10-15 minutes before baking to help maintain their shape and create crisp edges.
- Experiment with add-ins like dried fruits, chocolate chips, or nuts to customize your scones and add exciting flavor variations.
- Prep Time: 15 minutes
- Cook Time: 18-22 minutes
- Category: Breakfast, Snacks, Desserts
- Method: Baking
- Cuisine: British
Nutrition
- Serving Size: 8
- Calories: 338 kcal
- Sugar: 34 g
- Sodium: 215 mg
- Fat: 18 g
- Saturated Fat: 11 g
- Unsaturated Fat: 7 g
- Trans Fat: 1 g
- Carbohydrates: 42 g
- Fiber: 1 g
- Protein: 5 g
- Cholesterol: 65 mg
Michael Thompson
Founder & Recipe Developer
Expertise
Education
Cascade Culinary Institute – Bend, OR
ServSafe Food Handler Certification – Portland, OR
Focus: Certified in core food safety and hygiene principles for both home and professional kitchens, with emphasis on ingredient handling, kitchen cleanliness, and safe preparation methods.
Mike’s kitchen journey began with a single goal: to make everyday meals feel like something worth celebrating.
After earning his Certificate in Culinary Arts from Cascade Culinary Institute, he spent years working with local farmers and small kitchens across Oregon, learning the beauty of seasonal, small-batch cooking.
Mike’s approach is simple, cook with what’s fresh, keep it approachable, and always leave room for a little creativity. When he’s not testing yogurt marinades or designing single-serving meals, you’ll find him hiking trails or hunting down the best berries at local markets.