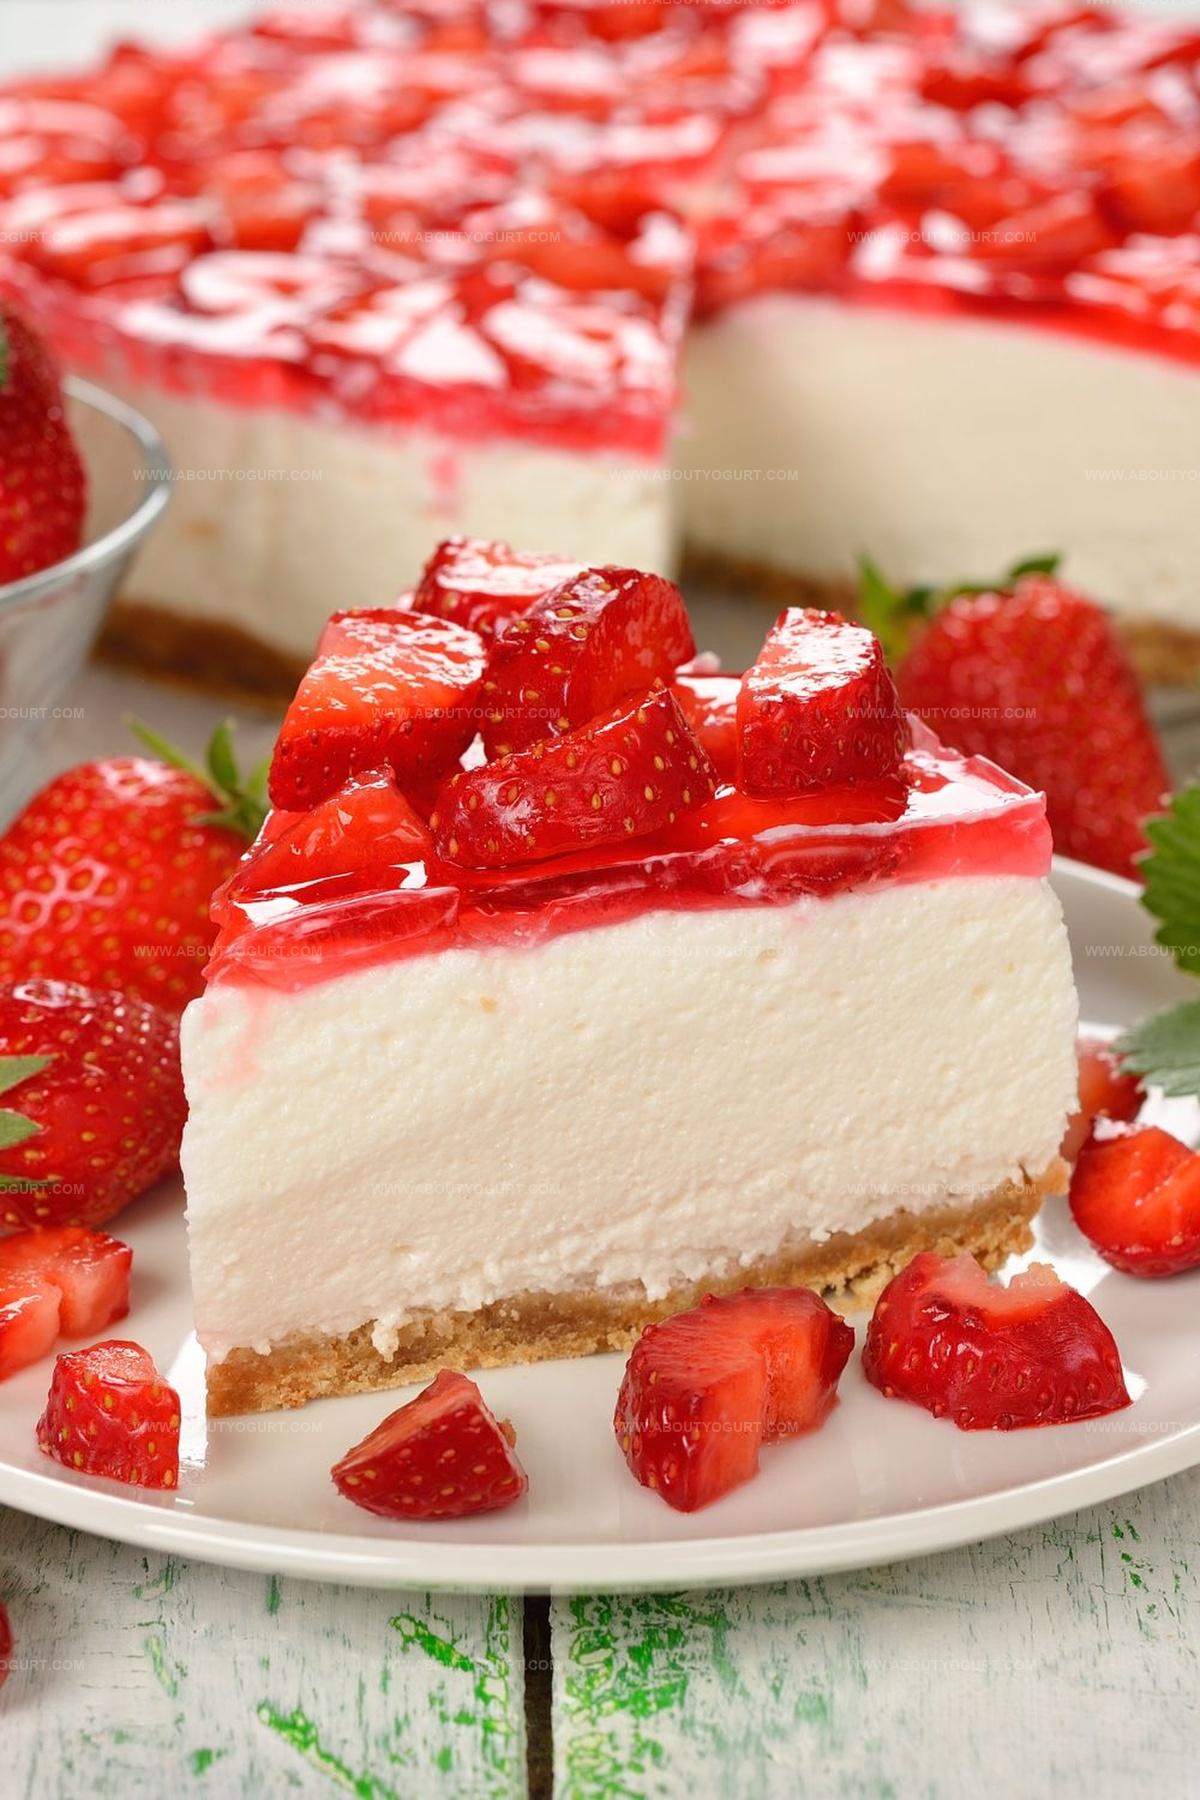
Strawberry Cheesecake Recipe for Sweet Spring Gatherings
Sweet memories often dance around a heavenly strawberry cheesecake that melts hearts instantly.
Creamy textures blend perfectly with juicy berries in this classic dessert.
Delicate layers promise pure indulgence for anyone seeking comfort through baking.
Rich cream cheese creates a smooth foundation that complements fresh strawberries beautifully.
Passionate bakers understand how simple ingredients can craft magic on a plate.
Subtle hints of vanilla and bright fruit notes make each slice irresistible.
Let’s uncover the secrets to creating this dreamy dessert that will make everyone ask for seconds.
Why Nigella Strawberry Cheesecake Recipe Is Fresh And Creamy
What You’ll Need For Nigella Strawberry Cheesecake Recipe
Base Ingredients:Filling Ingredients:Topping and Decoration Ingredients:Steps To Make Nigella Strawberry Cheesecake Recipe

Step 1: Prepare Biscuit Crust
Grab your digestive biscuits and crush them into fine crumbs using a food processor or rolling pin. The goal is to create a smooth, even texture that will form the perfect foundation for your cheesecake.
Step 2: Create Crust Base
Blend the crushed biscuits with softened butter until the mixture becomes cohesive. Press this mixture firmly into the bottom of a springform pan, creating an even, compact layer that will hold the cheesecake beautifully.
Step 3: Add Fruity Layer
Spread a generous layer of strawberry jam across the biscuit base. Use a dampened spoon to help the jam glide smoothly and create an even, glistening surface that will add a burst of fruity flavor.
Step 4: Blend Cream Cheese Mixture
In a large mixing bowl, combine cream cheese, sugar, and vanilla extract. Whisk these ingredients together until the mixture becomes smooth, creamy, and free of any lumps.
Step 5: Whip Cream
In a separate bowl, whip the double cream until it forms soft, billowy peaks. The cream should hold its shape but still look light and airy.
Step 6: Combine Filling
Gently fold the whipped cream into the cream cheese mixture. Use a careful, circular motion to maintain the airiness of the cream while creating a luscious, unified filling.
Step 7: Layer Filling
Pour the cream cheese mixture over the strawberry jam layer. Use a spatula to spread it evenly, creating smooth surfaces or playful, decorative swirls on top.
Step 8: Decorate and Chill
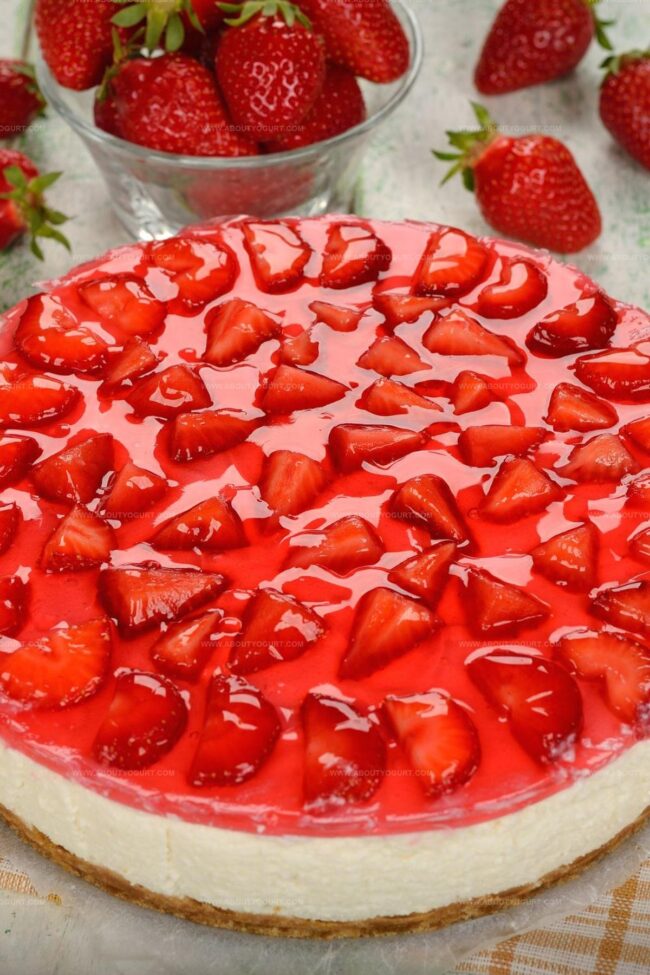
Optionally, garnish the top with fresh strawberry slices or a drizzle of strawberry sauce. Place the cheesecake in the refrigerator and let it set for at least 4-6 hours or overnight.
Step 9: Serve and Enjoy
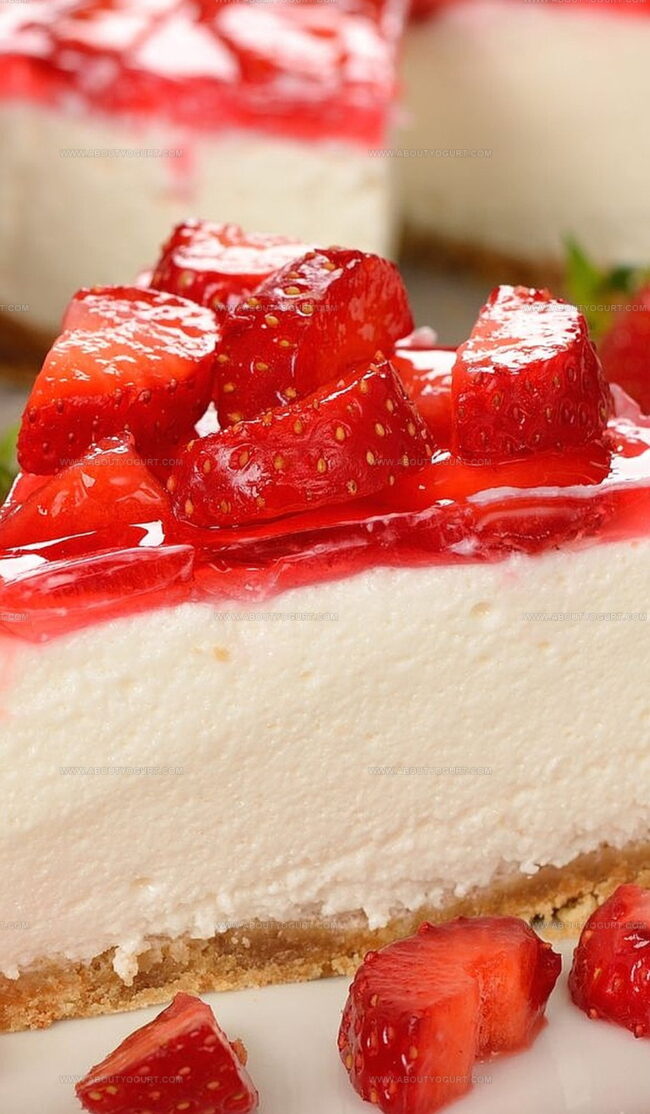
Remove the cheesecake from the refrigerator, slice, and serve chilled. Each bite promises a perfect balance of creamy, sweet, and fruity flavors.
Tips To Help With Nigella Strawberry Cheesecake Recipe

Creative Twists For Nigella Strawberry Cheesecake Recipe
What Goes With Nigella Strawberry Cheesecake Recipe
How To Store Nigella Strawberry Cheesecake Recipe Properly
FAQs On Nigella Strawberry Cheesecake Recipe
Digestive biscuits provide a perfect buttery, crumbly texture that holds together well and offers a subtle sweet taste that complements the creamy cheesecake filling.
Fresh strawberries are recommended for the best flavor and texture. Frozen strawberries might release too much water and make the cheesecake soggy.
Soft peaks are reached when you lift the whisk and the cream forms gentle, soft curves that slightly droop instead of standing straight up.
Extended chilling helps the cheesecake set properly, allowing flavors to blend and creating a firmer, more stable texture that’s easier to slice and serve.
Print
Strawberry Cheesecake Recipe
- Total Time: 35 hours 20 minutes
- Yield: 6 1x
Description
Creamy New York-style Strawberry Cheesecake delivers pure dessert bliss with silky cream cheese and fresh strawberry sweetness. Elegant layers of graham cracker crust and luscious filling promise a delightful end to any meal you’ll savor.
Ingredients
Main Ingredients:
- 300 grams (10.5 ounces) cream cheese
- 250 milliliters (8.5 fluid ounces) double cream
- 125 grams (4.4 ounces) digestive biscuits
Binding and Sweetening Ingredients:
- 75 grams (2.6 ounces) soft butter
- 60 grams (2.1 ounces) sugar
- 1 teaspoon vanilla extract
Topping and Garnish:
- 2 pots strawberry jam
- Fresh strawberries (optional)
Instructions
- Pulverize digestive biscuits into fine crumbs using a food processor or rolling pin.
- Combine crumbs with softened butter, pressing mixture firmly and evenly across the base of a springform pan to create a compact foundation.
- Delicately spread a thin, even layer of strawberry jam over the biscuit base using a moistened spatula.
- In a spacious mixing bowl, blend cream cheese until smooth, gradually incorporating sugar and vanilla extract.
- In a separate clean bowl, whip double cream until it forms soft, billowy peaks.
- Carefully incorporate whipped cream into the cream cheese mixture, folding gently to maintain airiness and prevent deflation.
- Transfer the luxurious cream mixture onto the jam-covered base, using a spatula to create elegant, swirled surface patterns.
- Artfully arrange fresh strawberry slices or drizzle strawberry sauce on top for enhanced visual appeal.
- Refrigerate for minimum 4-6 hours or preferably overnight to allow flavors to meld and texture to set perfectly.
Notes
- Use room temperature ingredients to ensure smooth, lump-free mixing and better incorporation of cream cheese and cream.
- Crush biscuits finely for a compact, even base that holds together perfectly when slicing the cheesecake.
- Spread jam carefully with a wet spoon to create a thin, even layer that won’t mix with the cream cheese filling.
- Fold whipped cream gently into cream cheese mixture to maintain light, airy texture and prevent deflating the mixture.
- For gluten-free version, replace digestive biscuits with gluten-free graham crackers or almond flour cookie crumbs.
- Avoid overmixing when combining cream cheese and whipped cream to prevent a dense, heavy texture.
- Chill cheesecake for at least 4-6 hours to allow flavors to meld and achieve perfect set consistency.
- Prep Time: 20 minutes
- Cook Time: 0 minutes
- Category: Desserts
- Method: Chilling
- Cuisine: American
Nutrition
- Serving Size: 6
- Calories: 367 kcal
- Sugar: 27 g
- Sodium: 150 mg
- Fat: 29 g
- Saturated Fat: 18 g
- Unsaturated Fat: 9 g
- Trans Fat: 0.5 g
- Carbohydrates: 22 g
- Fiber: 1 g
- Protein: 5 g
- Cholesterol: 80 mg
Michael Thompson
Founder & Recipe Developer
Expertise
Education
Cascade Culinary Institute – Bend, OR
ServSafe Food Handler Certification – Portland, OR
Focus: Certified in core food safety and hygiene principles for both home and professional kitchens, with emphasis on ingredient handling, kitchen cleanliness, and safe preparation methods.
Mike’s kitchen journey began with a single goal: to make everyday meals feel like something worth celebrating.
After earning his Certificate in Culinary Arts from Cascade Culinary Institute, he spent years working with local farmers and small kitchens across Oregon, learning the beauty of seasonal, small-batch cooking.
Mike’s approach is simple, cook with what’s fresh, keep it approachable, and always leave room for a little creativity. When he’s not testing yogurt marinades or designing single-serving meals, you’ll find him hiking trails or hunting down the best berries at local markets.