Gooey Brown Butter Krispie Treats Recipe to Crave
Crafting the most delectable salted brown butter rice krispie treats requires a magical culinary twist that will revolutionize your dessert game.
Butter transforms when slowly heated, developing rich caramel notes that dance across your palate.
Marshmallows melt into a silky canvas, creating a foundation of pure sweetness.
Salt crystals sprinkle unexpected depth, cutting through the sugary landscape with precise complexity.
Crispy rice adds a satisfying crunch that makes each bite a delightful experience.
Nostalgia meets gourmet innovation in this simple yet extraordinary recipe.
Trust me, you won’t be able to stop at just one square of these irresistible treats.
Reasons to Enjoy The Best Salted Brown Butter Rice Krispie Treats
Components Required for The Best Salted Brown Butter Rice Krispie Treats
Core Ingredients:Flavor Enhancers:Preparation Support:Step-by-Step Guide to Making The Best Salted Brown Butter Rice Krispie Treats
Step 1: Brown The Butter
Grab a large saucepan and place it over medium heat. Melt the butter slowly, swirling the pan occasionally. Watch carefully as the butter transforms from pale yellow to a gorgeous golden brown color. You’ll know it’s perfect when a rich, nutty aroma fills your kitchen.
Step 2: Create Marshmallow Magic
Take the pan off the heat and sprinkle in sea salt. Pour in marshmallows and stir vigorously until they completely melt and blend into a silky smooth mixture. The salt will enhance the caramel-like flavor of the browned butter.
Step 3: Add Flavor Enhancer
Pour in vanilla extract and mix thoroughly. This will introduce a subtle depth of warmth to your treats.
Step 4: Combine Cereal
Gently fold Rice Krispies into the marshmallow mixture. Ensure every single crisp is generously coated with the sweet, buttery goodness.
Step 5: Shape The Treats
Transfer the mixture into a greased 9×13-inch baking dish. Use a spatula or clean hands to press and spread the mixture evenly. Apply gentle pressure to create a compact, uniform layer.
Step 6: Cool And Slice
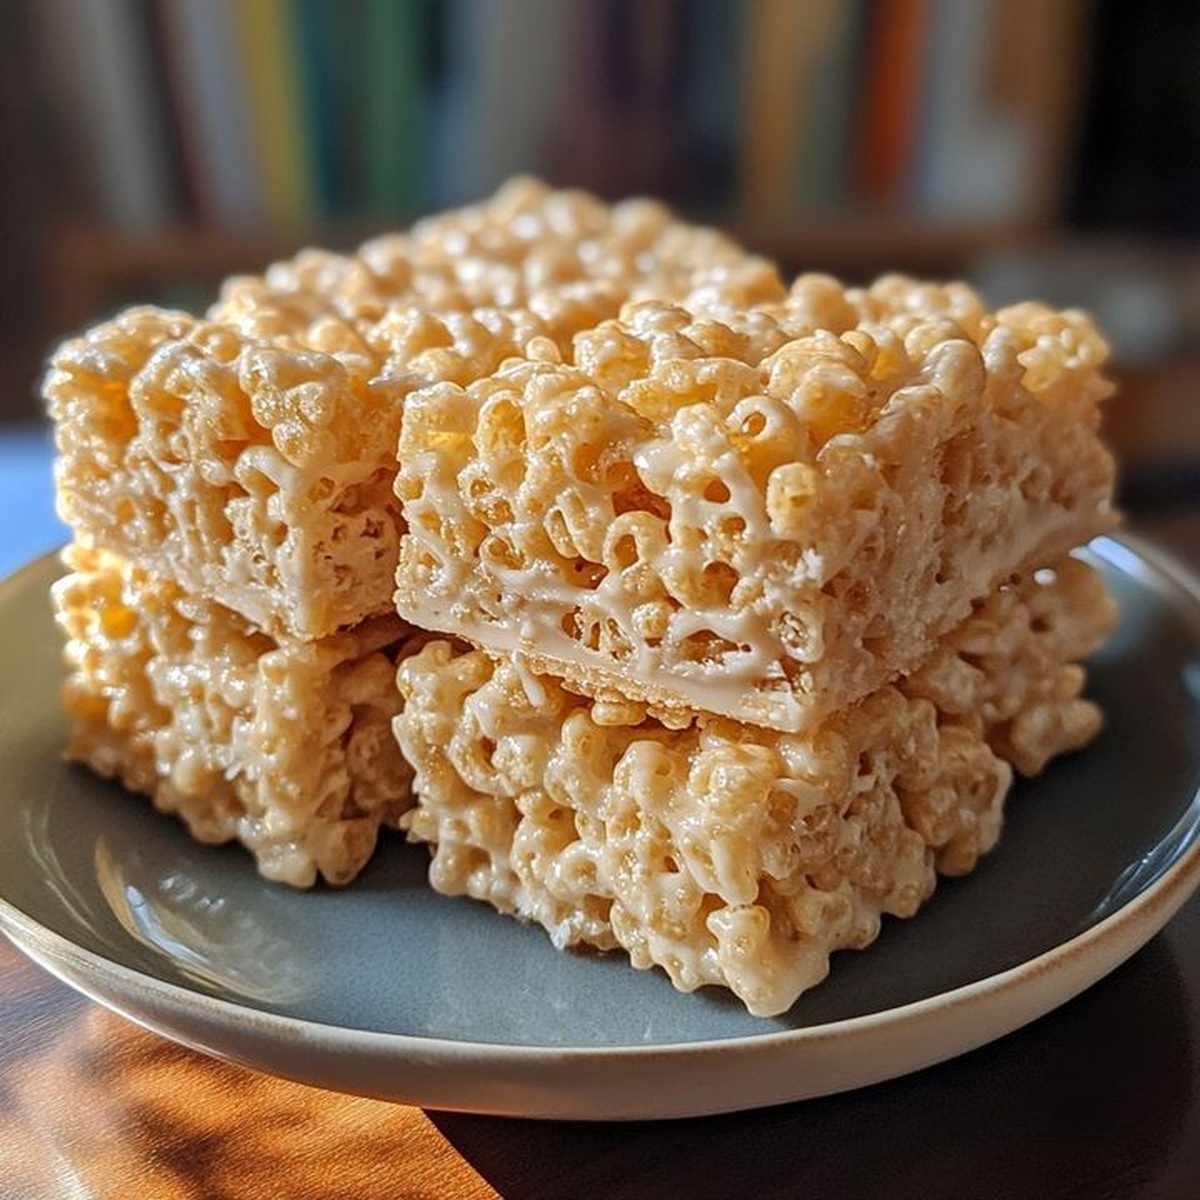
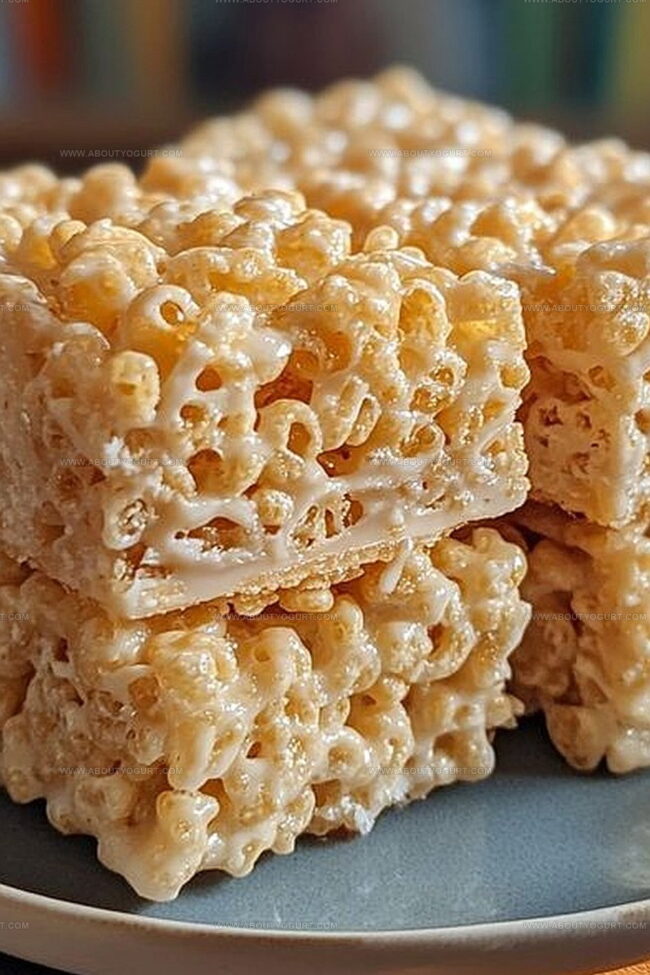
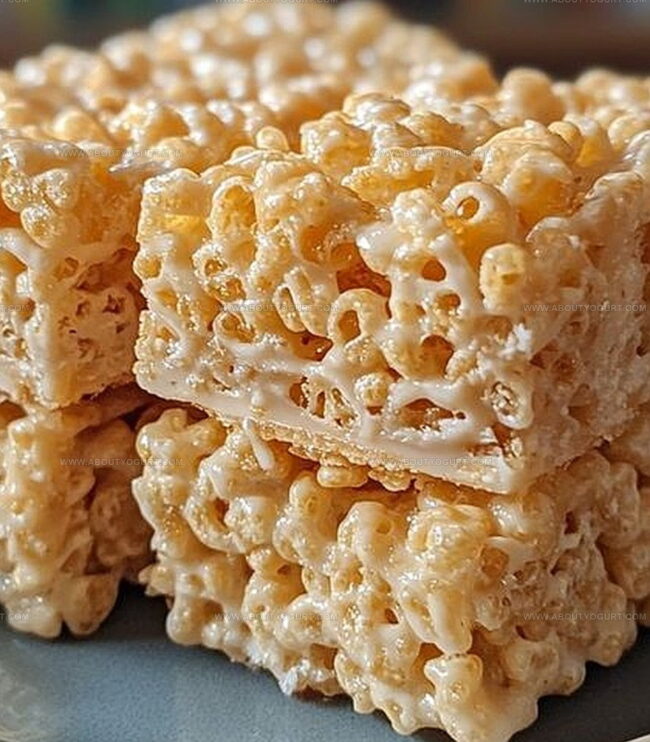
Allow the treats to rest and set at room temperature for about 30 minutes. Once cooled, slice into squares using a sharp knife. Enjoy your gourmet rice krispie treats!
Helpful Advice for Preparing The Best Salted Brown Butter Rice Krispie Treats
Creative Twists to Try with The Best Salted Brown Butter Rice Krispie Treats
Suggested Pairings for The Best Salted Brown Butter Rice Krispie Treats
How to Maintain Freshness of The Best Salted Brown Butter Rice Krispie Treats
Common Questions About The Best Salted Brown Butter Rice Krispie Treats
Brown butter (or beurre noisette) is butter that’s been heated until the milk solids caramelize, creating a deeper, nuttier flavor with a golden-brown color and rich, toasted aroma.
While the recipe calls for unsalted butter, you can use salted butter and simply reduce or omit the additional sea salt to control the overall saltiness of the treats.
Look for a golden-brown color and a nutty, toasted smell. The butter will start to foam and have small brown specks at the bottom of the pan, which signals it’s ready.
Print
The Best Salted Brown Butter Rice Krispie Treats Recipe
- Total Time: 40 minutes
- Yield: 12 1x
Description
Irresistible Salted Brown Butter Rice Krispie Treats elevate classic childhood comfort into gourmet dessert bliss. Buttery, crisp, and perfectly balanced with sea salt, these squares promise nostalgic joy in every delectable bite you’ll savor.
Ingredients
Main Ingredients:
- 10 ounces (283 grams) mini marshmallows
- 6 cups (150 grams) Rice Krispies cereal
Butter and Seasoning:
- 4 tablespoons (57 grams) unsalted butter
- 1 teaspoon (5 grams) sea salt
- 1 teaspoon (5 milliliters) vanilla extract
Instructions
- Carefully brown butter in a large saucepan over medium heat, gently swirling until it develops a rich golden hue and releases a distinctive nutty fragrance, approximately 5-7 minutes.
- Immediately remove from heat and sprinkle sea salt into the browned butter, creating a deep flavor foundation.
- Pour marshmallows into the warm butter, stirring constantly until they completely dissolve and create a smooth, glossy mixture.
- Introduce vanilla extract, mixing thoroughly to distribute the aromatic essence throughout the marshmallow blend.
- Gradually incorporate Rice Krispies cereal, gently folding until each piece becomes evenly coated with the luscious marshmallow mixture.
- Transfer the sticky concoction into a prepared baking dish, using gentle pressure to distribute evenly and create a uniform surface.
- Allow the treats to set and cool at room temperature for approximately 30 minutes, enabling them to firm up and become easier to slice.
- Once cooled, cut into precise squares, revealing the golden, crispy texture and revealing the rich brown butter undertones.
Notes
- Brown the butter slowly to develop a deep, rich nutty flavor without burning, watching the color change carefully.
- Use high-quality sea salt for enhanced taste, sprinkling it gradually to control the saltiness and create balanced sweetness.
- Press treats gently when spreading in the pan to prevent dense, hard squares; a light touch ensures a softer, more tender texture.
- Allow treats to cool completely at room temperature for clean, precise cutting and optimal marshmallow binding with the cereal.
- Prep Time: 10 minutes
- Cook Time: 10 minutes
- Category: Snacks, Desserts
- Method: Sautéing
- Cuisine: American
Nutrition
- Serving Size: 12
- Calories: 173
- Sugar: 9 g
- Sodium: 95 mg
- Fat: 7 g
- Saturated Fat: 4 g
- Unsaturated Fat: 3 g
- Trans Fat: 0.2 g
- Carbohydrates: 26 g
- Fiber: 0.5 g
- Protein: 1 g
- Cholesterol: 20 mg
Michael Thompson
Founder & Recipe Developer
Expertise
Education
Cascade Culinary Institute – Bend, OR
ServSafe Food Handler Certification – Portland, OR
Focus: Certified in core food safety and hygiene principles for both home and professional kitchens, with emphasis on ingredient handling, kitchen cleanliness, and safe preparation methods.
Mike’s kitchen journey began with a single goal: to make everyday meals feel like something worth celebrating.
After earning his Certificate in Culinary Arts from Cascade Culinary Institute, he spent years working with local farmers and small kitchens across Oregon, learning the beauty of seasonal, small-batch cooking.
Mike’s approach is simple, cook with what’s fresh, keep it approachable, and always leave room for a little creativity. When he’s not testing yogurt marinades or designing single-serving meals, you’ll find him hiking trails or hunting down the best berries at local markets.