Sweet and Fluffy Treacle Scones Recipe to Enjoy
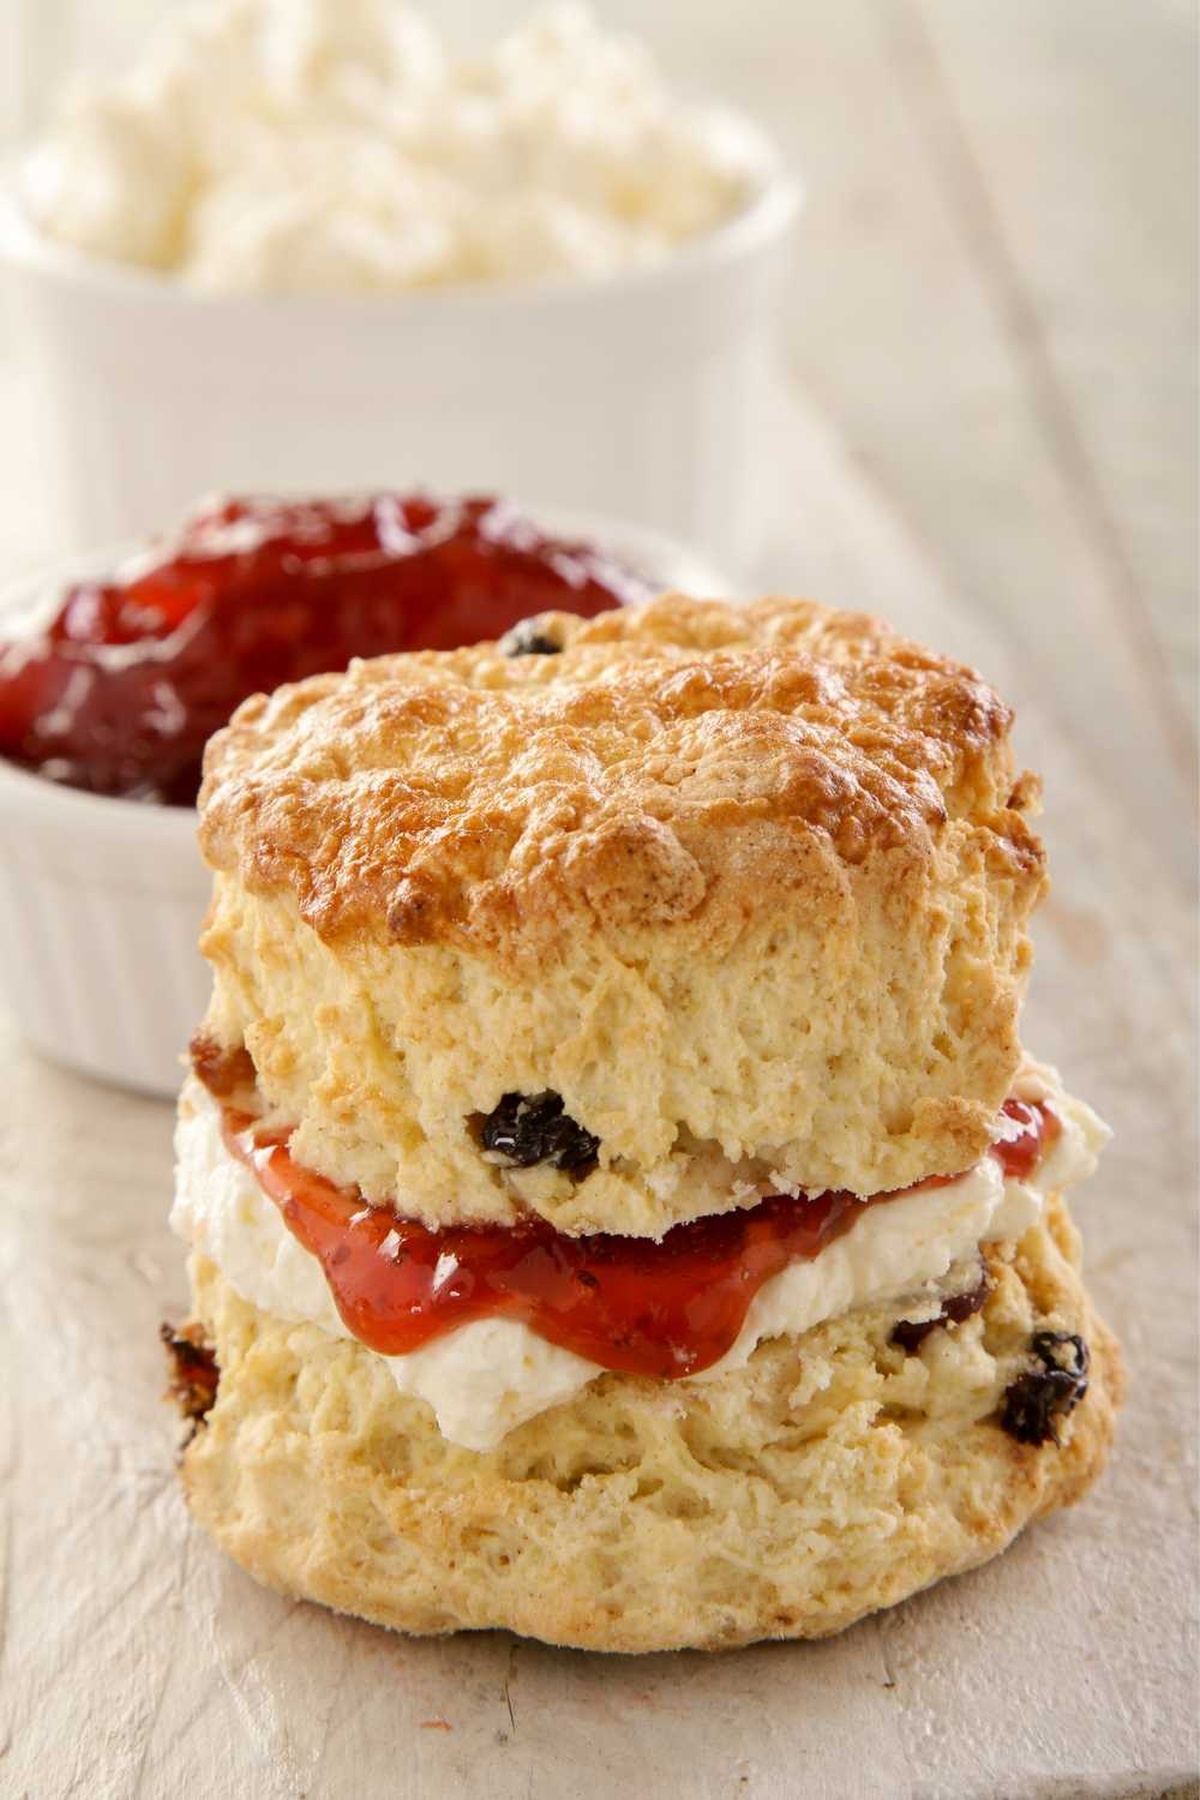
Warm, buttery treacle scones dance with a rich, golden sweetness that beckons you closer to the kitchen.
Memories of Scottish bakeries whisper through each crumbly bite.
Flour-dusted counters tell stories of traditional baking passed down through generations.
Delicate and light, these treats promise comfort in every mouthful.
Perfectly paired with afternoon tea or a morning coffee, they invite pure indulgence.
Crisp edges and soft centers await your first delightful taste.
Ready to experience a classic Scottish delight that will charm your senses?
What Makes Mary Berry Treacle Scones Stand Out
Key Ingredients for Mary Berry Treacle Scones
Dry Ingredients:Wet Ingredients:Fat Component:How to Prepare Mary Berry Treacle Scones with Ease

Step 1: Warm Up the Oven
Set your oven to a toasty 190 degrees Celsius (375 degrees Fahrenheit). Grab a baking tray and line it with parchment paper for easy cleanup.
Step 2: Create the Dry Mixture
In a mixing bowl, combine your dry ingredients with care:Whisk these together until they’re evenly blended.
Step 3: Work in the Butter
Use your fingertips to gently rub the butter into the dry mixture. Keep working until the texture looks like soft, crumbly breadcrumbs.
Step 4: Mix the Wet Ingredients
Gently warm the treacle and milk together, stirring until they create a smooth, glossy liquid.
Step 5: Form the Dough
Pour the warm treacle mixture into the flour blend. Stir slowly and steadily until a soft dough forms. Don’t overmix – just combine until everything comes together.
Step 6: Shape the Scones
Roll out the dough to about 1 inch thick. Use a round cutter to create beautiful scone shapes. Place these lovely rounds onto your prepared baking tray.
Step 7: Prepare for Baking
Brush the top of each scone with a light layer of milk to help them achieve a gorgeous golden color.
Step 8: Bake to Perfection
Slide the tray into the preheated oven. Bake for 15-18 minutes until the scones turn a beautiful golden brown.
Step 9: Cool and Serve
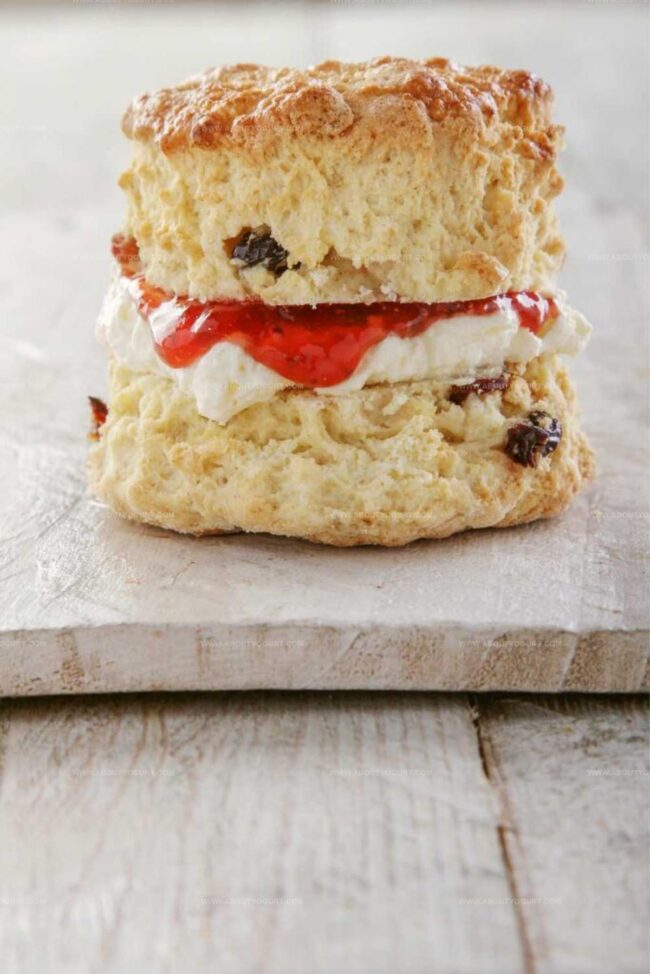
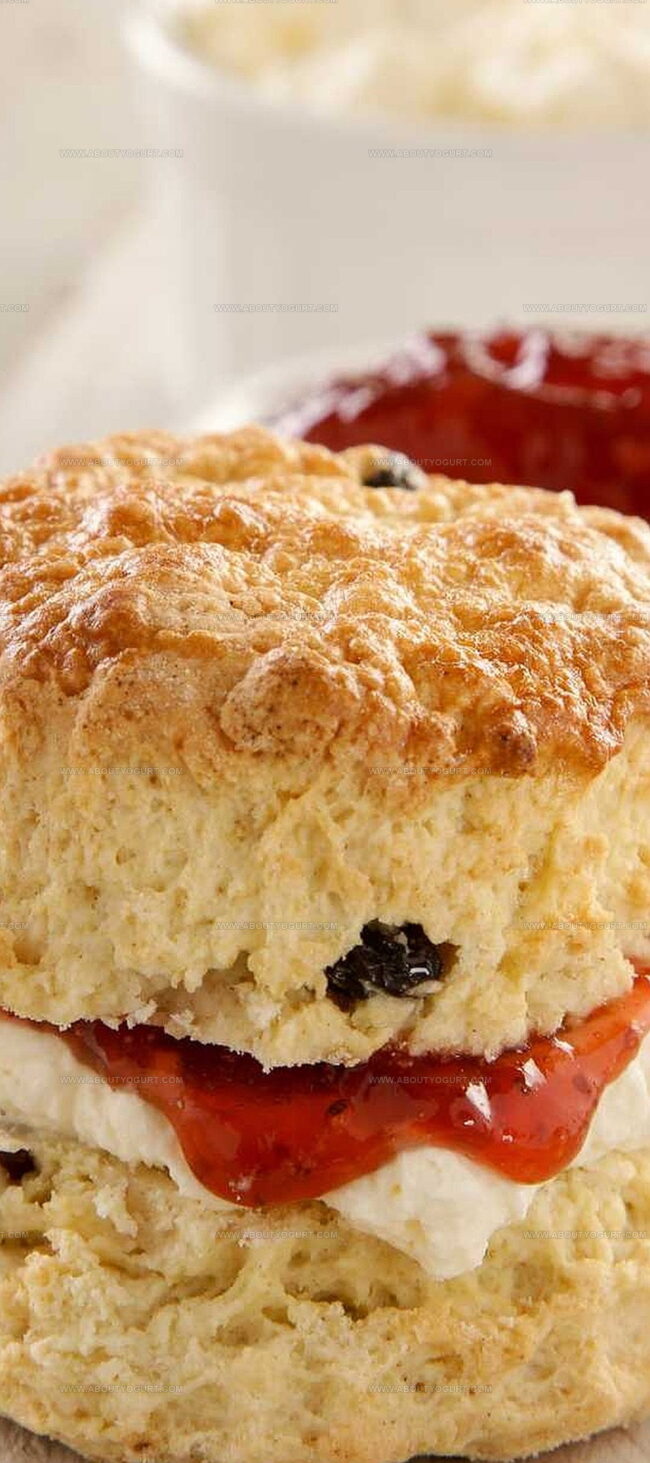
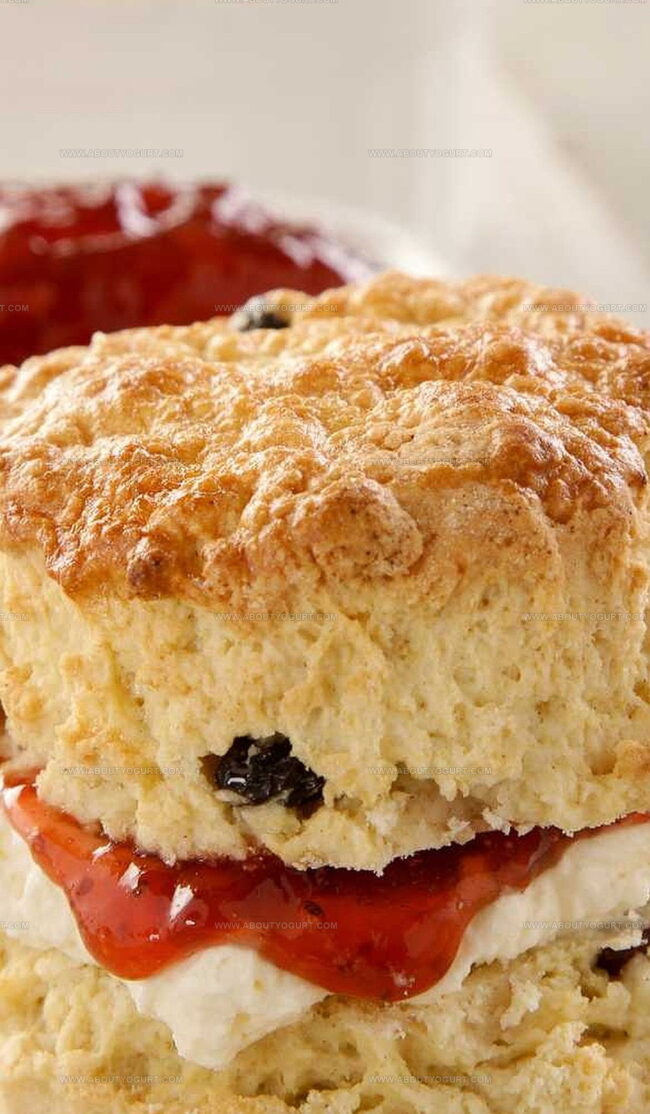
Transfer the scones to a cooling rack. Once they’ve cooled slightly, serve with your favorite spreads or enjoy them warm and fresh.
Helpful Tips for Mary Berry Treacle Scones
Different Versions of Mary Berry Treacle Scones
Serving Ideas for Mary Berry Treacle Scones
How to Store Mary Berry Treacle Scones Properly
Answers to Mary Berry Treacle Scones Questions
Treacle is a dark, sweet syrup that adds rich, molasses-like flavor and helps create a moist, tender texture in the scones, giving them a deeper sweetness compared to traditional scones.
Yes, you can use molasses or golden syrup as alternatives. These provide similar moisture and depth of flavor to the scones, though the taste might be slightly different from traditional treacle.
Treacle scones are particularly popular in Scotland, where they’re a beloved variation of classic scone recipes, often enjoyed as part of afternoon tea or breakfast.
Print
Treacle Scones Recipe
- Total Time: 25-28 minutes
- Yield: 8 1x
Description
Scottish treacle scones weave sweet whispers of tradition into buttery, golden-edged pastry. Comfort from grandmother’s kitchen meets modern baking magic, inviting you to savor warm crumbly bites steeped in rustic charm.
Ingredients
Main Ingredients:
- 360 grams (12.7 ounces) self-raising flour
- 200 milliliters (6.8 fluid ounces) whole milk
- 60 grams (2.1 ounces) cold butter, chopped
- 2 tablespoons black treacle
Spices and Seasonings:
- 2 tablespoons light brown sugar
- 1/4 teaspoon salt
- 1/2 teaspoon ground cinnamon
- 1/2 teaspoon ground ginger
- 1/4 teaspoon nutmeg
Instructions
- Combine dry ingredients in a spacious mixing bowl, ensuring even distribution of flour, spices, sugar, and salt.
- Incorporate cold butter into the mixture using fingertips, creating a texture resembling coarse breadcrumbs.
- Gently heat treacle and milk in a small saucepan, stirring until fully integrated and slightly warm.
- Pour the treacle-milk mixture into the dry ingredients, mixing with a wooden spoon until a soft, cohesive dough forms.
- Transfer the dough onto a lightly floured surface and gently roll to approximately 1-inch thickness.
- Use a round cutter to shape scones, pressing straight down without twisting to ensure even rising.
- Arrange scones on the prepared baking tray, leaving slight space between each piece.
- Delicately brush the top of each scone with milk to achieve a golden, glossy finish.
- Bake in a preheated oven at 190C (375F) for 15-18 minutes, or until edges turn light golden brown.
- Remove from oven and transfer scones to a wire rack, allowing them to cool completely before serving.
- Pair with clotted cream, jam, or your preferred accompaniments for a delightful treat.
Notes
- Soften butter beforehand to ensure smooth incorporation into the flour mixture, creating a more tender scone texture.
- Chill the dough for 15 minutes before rolling to prevent stickiness and help maintain the scones’ shape during baking.
- For a gluten-free version, substitute regular flour with a high-quality gluten-free flour blend, adding xanthan gum for better binding.
- Experiment with different spices like cardamom or ginger to create unique flavor variations that complement the rich treacle sweetness.
- Prep Time: 10 minutes
- Cook Time: 15-18 minutes
- Category: Breakfast, Snacks, Desserts
- Method: Baking
- Cuisine: British
Nutrition
- Serving Size: 8
- Calories: 166 kcal
- Sugar: 5 g
- Sodium: 296 mg
- Fat: 6 g
- Saturated Fat: 3.5 g
- Unsaturated Fat: 2.1 g
- Trans Fat: 0.1 g
- Carbohydrates: 26 g
- Fiber: 1.2 g
- Protein: 4 g
- Cholesterol: 18 mg
Michael Thompson
Founder & Recipe Developer
Expertise
Education
Cascade Culinary Institute – Bend, OR
ServSafe Food Handler Certification – Portland, OR
Focus: Certified in core food safety and hygiene principles for both home and professional kitchens, with emphasis on ingredient handling, kitchen cleanliness, and safe preparation methods.
Mike’s kitchen journey began with a single goal: to make everyday meals feel like something worth celebrating.
After earning his Certificate in Culinary Arts from Cascade Culinary Institute, he spent years working with local farmers and small kitchens across Oregon, learning the beauty of seasonal, small-batch cooking.
Mike’s approach is simple, cook with what’s fresh, keep it approachable, and always leave room for a little creativity. When he’s not testing yogurt marinades or designing single-serving meals, you’ll find him hiking trails or hunting down the best berries at local markets.