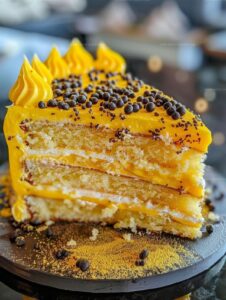
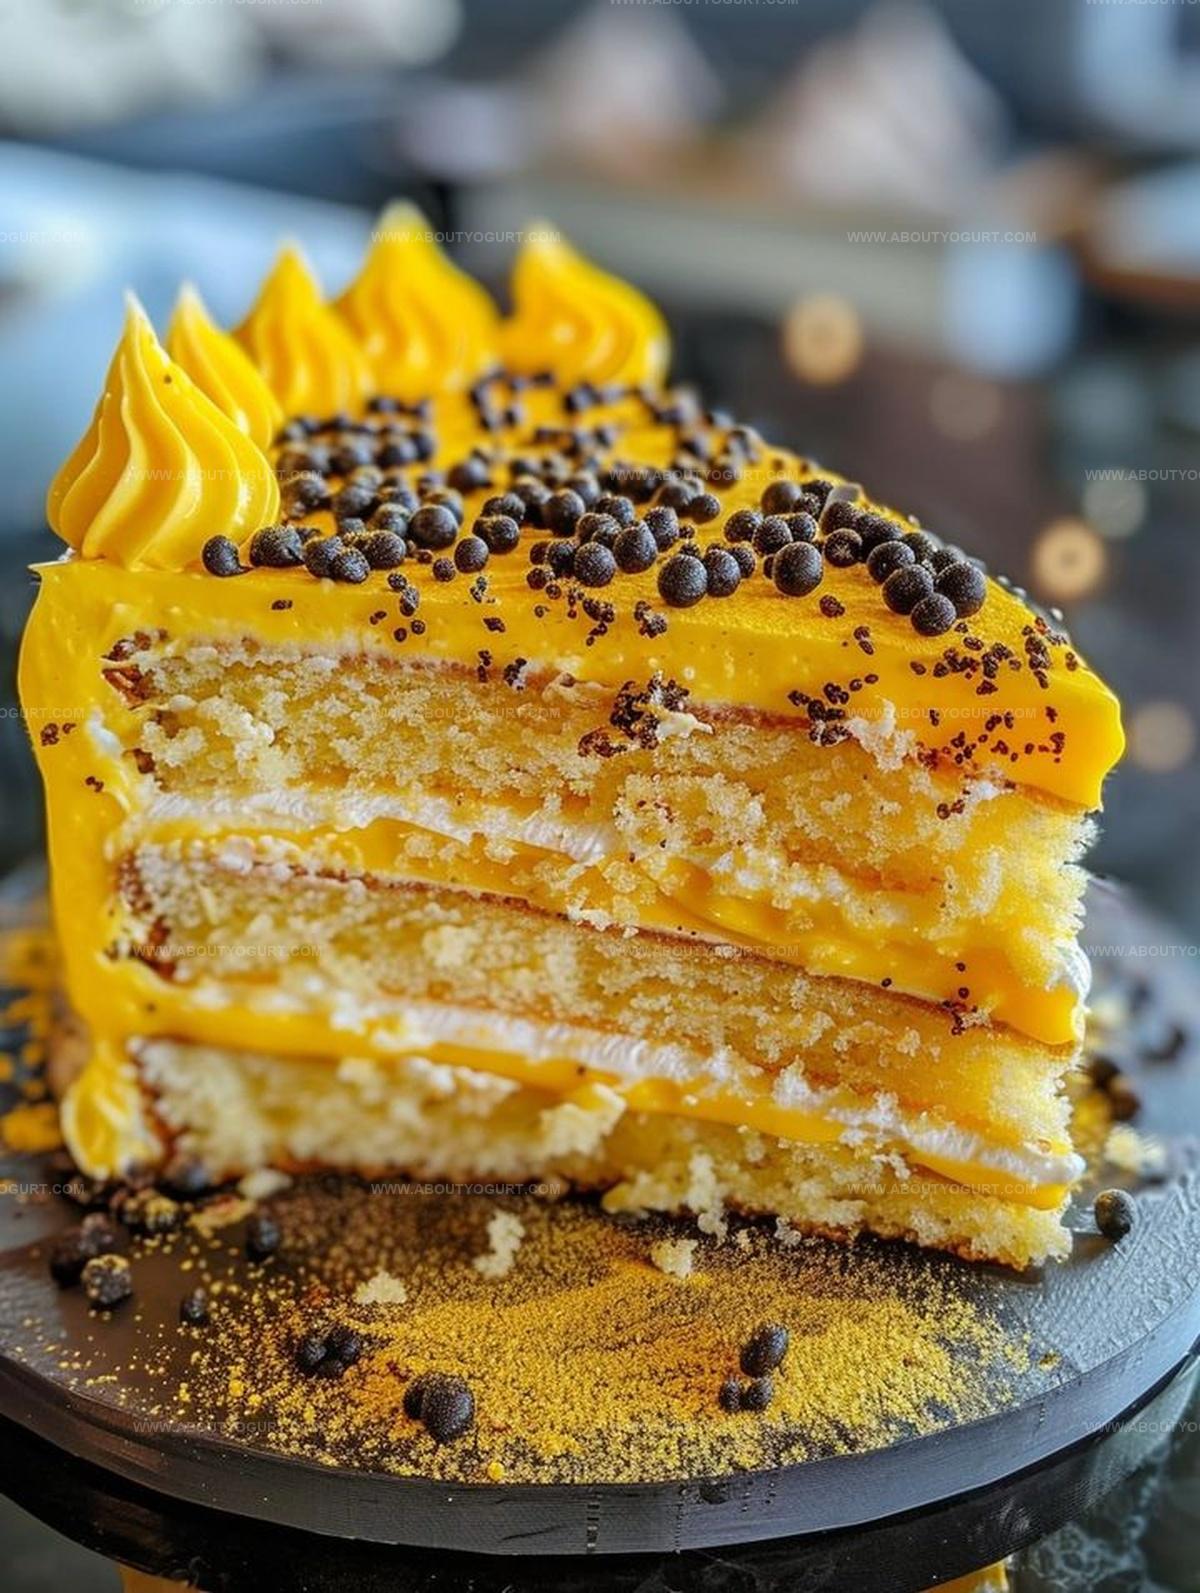
Yellow Velvet Cake Recipe That Brighten Any Plate
Crafting a vibrant yellow velvet cake brings pure sunshine to your dessert table.
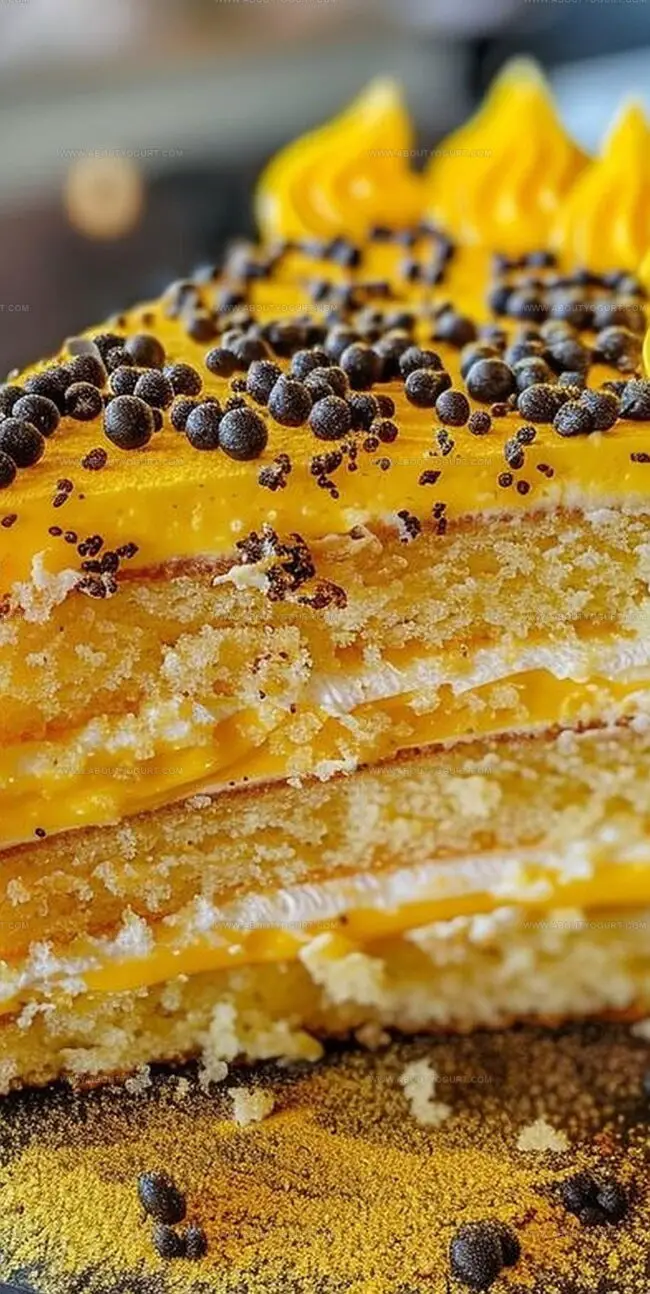
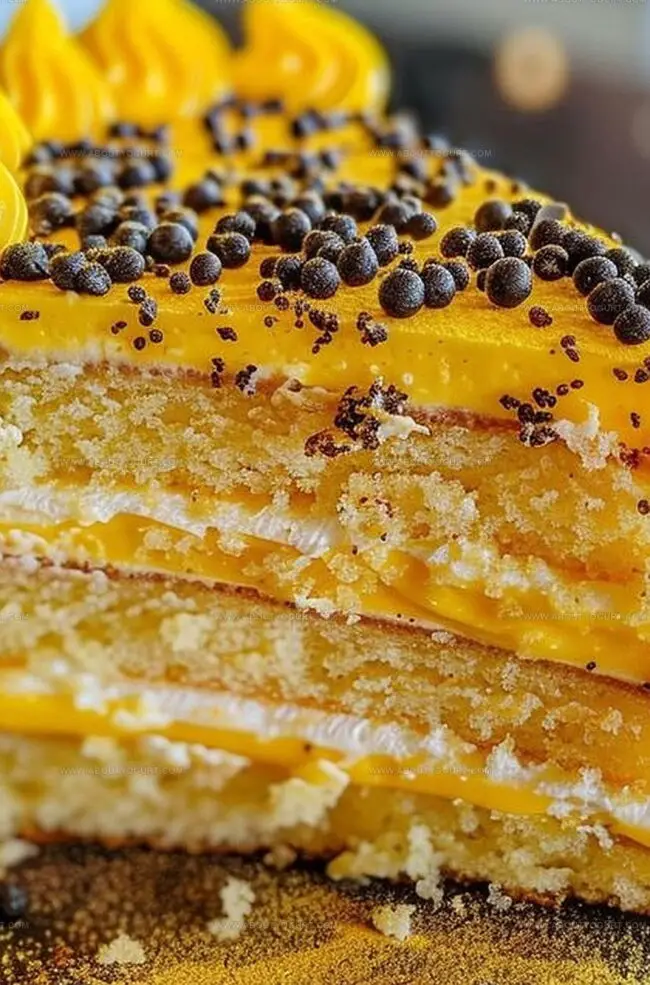
Layers of soft, golden sponge promise a delightful experience for everyone.
Butter and buttermilk create a tender crumb that melts in your mouth.
Rich egg yolks contribute deep color and luxurious texture to each slice.
Cream cheese frosting adds a tangy contrast that perfectly complements the cake’s sweetness.
Subtle hints of vanilla weave through every delectable bite.
Yellow Velvet Cake’s Golden Charm
Ingredients List for Yellow Velvet Cake
Cake Dry Ingredients:Cake Wet Ingredients:Finishing Ingredients:How to Bake the Perfect Yellow Velvet Cake
Step 1: Prepare Baking Station
Get your oven ready by setting the temperature to 350°F. Generously coat three 8-inch round cake pans with butter and sprinkle flour to prevent sticking.
Step 2: Mix Dry Ingredients
Grab a medium mixing bowl and whisk together:Step 3: Create Butter Base
In a large bowl, blend softened butter and granulated sugar until the mixture becomes light and airy, creating a smooth texture.
Step 4: Incorporate Egg Yolks
Add egg yolks one at a time, mixing thoroughly after each addition. Stir in vanilla extract for a rich flavor profile.
Step 5: Combine Wet and Dry Ingredients
Gradually blend flour mixture into butter mixture, alternating with buttermilk. Start and finish with the flour mixture to ensure even distribution.
Step 6: Whip Egg Whites
In a separate bowl, beat egg whites until they form stiff, glossy peaks. Gently fold these into the cake batter, maintaining the delicate airiness.
Step 7: Add Vibrant Color
Pour in yellow food coloring and mix evenly until you achieve the desired sunny shade.
Step 8: Prepare for Baking
Divide batter equally among prepared cake pans, smoothing the tops for an even surface.
Step 9: Bake to Perfection
Place pans in the preheated oven and bake for 25-30 minutes. Check doneness by inserting a toothpick into the center – it should come out clean.
Step 10: Cool Cake Layers
Allow cakes to rest in pans for 10 minutes, then carefully transfer to wire racks to cool completely.
Step 11: Whip Up Cream Cheese Frosting
Beat softened butter and cream cheese until creamy and smooth. Gradually add powdered sugar and vanilla extract, continuing to mix until the frosting becomes fluffy.
Step 12: Layer the Cake
Place first cake layer on a serving plate. Spread a generous layer of cream cheese frosting. Repeat with remaining layers.
Step 13: Final Frosting
Cover the entire cake – top and sides – with remaining cream cheese frosting, creating a smooth and elegant finish.
Step 14: Decorate and Serve
Add your personal decorative touch and get ready to enjoy this delightful Yellow Velvet Cake!
Pro Tips for Moist Yellow Velvet Cake
Variations to Refresh Your Yellow Velvet Cake
Pairing Ideas for Yellow Velvet Cake
Storage Tips to Keep Yellow Velvet Cake Fresh
Yellow Velvet Cake FAQ Essentials
The key difference is the color. Yellow velvet cake uses yellow food coloring instead of red, creating a bright yellow hue while maintaining the same tender, velvety texture of a traditional velvet cake.
Yes, cake flour is crucial. It has lower protein content than all-purpose flour, which helps create a softer, more delicate cake texture with a fine, tender crumb that’s characteristic of velvet cakes.
Beating egg whites and folding them into the batter adds extra lightness and volume to the cake. This technique creates a more airy, delicate texture that makes yellow velvet cake exceptionally soft and fluffy.
Print
Yellow Velvet Cake Recipe
- Total Time: 45-50 minutes
- Yield: 8 1x
Description
Luxurious yellow velvet cake delivers sunshine on a plate with rich, buttery layers. Creamy frosting and delicate crumb invite you to savor each sweet, elegant bite of this classic dessert.
Ingredients
Cake Dry Ingredients:
- 2 1/2 cups (300 grams) cake flour
- 2 teaspoons baking powder
- 1/2 teaspoon baking soda
- 1/2 teaspoon salt
Cake Wet Ingredients and Fats:
- 1 cup (227 grams) unsalted butter, softened
- 1 1/2 cups (300 grams) granulated sugar
- 4 large eggs, separated
- 1 teaspoon vanilla extract
- 1 cup (240 milliliters) buttermilk
Coloring:
- Yellow food coloring
Instructions
- Prepare oven to 350F (175C) and meticulously coat three 8-inch round cake pans with grease and flour.
- Sift together cake flour, leavening agents, and salt in a medium mixing vessel.
- Cream butter and granulated sugar in a spacious mixing bowl until voluminous and airy.
- Incorporate egg yolks individually, ensuring thorough blending after each addition. Infuse with vanilla extract.
- Alternate adding flour mixture and buttermilk to the butter base, commencing and concluding with dry ingredients.
- Whip egg whites separately until achieving sturdy, glossy peaks. Delicately integrate whipped whites into the batter.
- Introduce yellow food coloring, stirring until uniformly distributed and achieving desired golden hue.
- Evenly distribute batter across prepared pans, smoothing surfaces with a spatula.
- Bake for 25-30 minutes until a testing skewer emerges clean when inserted into cake’s center.
- Allow cakes to rest in pans for 10 minutes, then transfer to wire cooling racks.
- Craft cream cheese frosting by blending butter and cream cheese until silky. Gradually incorporate powdered sugar and vanilla, whipping until luxuriously smooth.
- Position first cake layer on serving plate, lavishly spreading frosting between each subsequent layer.
- Generously coat entire cake exterior with remaining cream cheese frosting.
- Embellish as desired and savor your culinary creation.
Notes
- Ensure butter and eggs are at room temperature for smoother mixing and better cake texture.
- Sift dry ingredients to prevent lumps and create a more uniform cake batter.
- Fold egg whites gently to maintain their airiness, which helps create a light and fluffy cake.
- For a natural yellow color, use turmeric or saffron instead of artificial food coloring.
- Avoid overmixing the batter to prevent a tough, dense cake.
- Use cake flour for a softer, more delicate crumb compared to all-purpose flour.
- Allow cake to cool completely before frosting to prevent melting and sliding.
- Store leftover cake in an airtight container in the refrigerator for up to 3-4 days.
- Prep Time: 20 minutes
- Cook Time: 25-30 minutes
- Category: Desserts
- Method: Baking
- Cuisine: American
Nutrition
- Serving Size: 8
- Calories: 329 kcal
- Sugar: 32 g
- Sodium: 230 mg
- Fat: 18 g
- Saturated Fat: 11 g
- Unsaturated Fat: 7 g
- Trans Fat: 0.5 g
- Carbohydrates: 39 g
- Fiber: 1 g
- Protein: 4 g
- Cholesterol: 105 mg


Sarah Mitchell
Content Specialist & Home Cooking Enthusiast
Expertise
Education
Asheville-Buncombe Technical Community College – Asheville, NC
American Fitness Professionals & Associates – Online
Sarah’s passion for food was sparked by weekend trips to the farmers’ market and her belief that healthy meals should never feel boring.
After earning her culinary diploma and becoming a certified Nutrition and Wellness Consultant, she set out to help others fall in love with simple, wholesome cooking.
She’s all about celebrating the small wins in the kitchen: a colorful yogurt bowl, a new twist on a classic dish, or a homemade snack that feels just a little extra special.
Outside the kitchen, Sarah is a gardener at heart, a yoga enthusiast, and a believer that fresh herbs can brighten any meal, and any day.