Chocolate Pots Recipe with a Rich Velvety Finish
Rich, velvety chocolate pots have been my secret weapon for impressing dinner guests without breaking a sweat.
Decadent desserts often seem complicated, but this recipe simplifies pure indulgence.
Smooth chocolate melts into a silky dream that feels like pure luxury.
Professional pastry chefs might guard such techniques, yet I’m sharing my foolproof method.
Minimal ingredients combine to create an elegant treat that looks far more complex than it truly is.
Each spoonful delivers intense chocolate flavor that lingers deliciously on your palate.
You’ll fall in love with how effortlessly these pots come together, promising a dessert that looks like it took hours but takes mere minutes to prepare.
What Makes Mary Berry Chocolate Pots So Tempting
Everything You Need for Mary Berry Chocolate Pots
Dairy Base:Chocolate and Flavor Enhancers:Binding Ingredients:How to Make Mary Berry Chocolate Pots Step-by-Step

Step 1: Warm Dairy Blend
Gently heat cream and milk in a saucepan, watching carefully until tiny bubbles form around the edges. The dairy should be hot but not boiling, creating a silky base for your decadent dessert.
Step 2: Prepare Egg Yolks
Whisk egg yolks in a separate mixing bowl until they become smooth and slightly lighter in color. This creates a creamy foundation for the chocolate pots.
Step 3: Temper The Mixture
Gradually pour about half of the hot dairy into the egg yolks while continuously whisking. This technique prevents the eggs from scrambling and ensures a velvety smooth texture.
Step 4: Create Custard Base
Pour the tempered egg mixture back into the saucepan. Cook on low heat, stirring constantly for about 12 minutes. The mixture will slowly thicken and coat the back of a spoon.
Step 5: Incorporate Chocolate Goodness
Remove the pan from heat and add:Whisk vigorously until the mixture becomes completely smooth and glossy.
Step 6: Strain For Silky Texture
Pour the chocolate mixture through a fine mesh sieve to remove any potential lumps, ensuring an ultra-smooth dessert.
Step 7: Chill And Set
Divide the chocolate mixture evenly into 6 ramekins. Refrigerate for at least 2 hours until the pots are set and wonderfully chilled. Serve cold and enjoy the rich, creamy decadence.
Tips for Perfecting Mary Berry Chocolate Pots

Fun Twists on Mary Berry Chocolate Pots
What to Serve with Mary Berry Chocolate Pots
Best Way to Store Mary Berry Chocolate Pots
FAQs About Mary Berry Chocolate Pots
Yes, but dark chocolate provides a richer, more intense flavor. Milk chocolate will make the dessert sweeter and less complex.
No, you can use instant espresso powder or strong instant coffee as a substitute. The goal is to enhance the chocolate’s depth.
Heavy cream or whipping cream with at least 35% fat content produces the smoothest, most luxurious texture. Avoid low-fat alternatives.
While kids might enjoy the taste, the recipe contains raw egg yolks. Consider using pasteurized eggs or cooking the mixture to a safe temperature to eliminate any potential food safety risks.
Print
Chocolate Pots Recipe
- Total Time: 2 hours 22 minutes
- Yield: 4 1x
Description
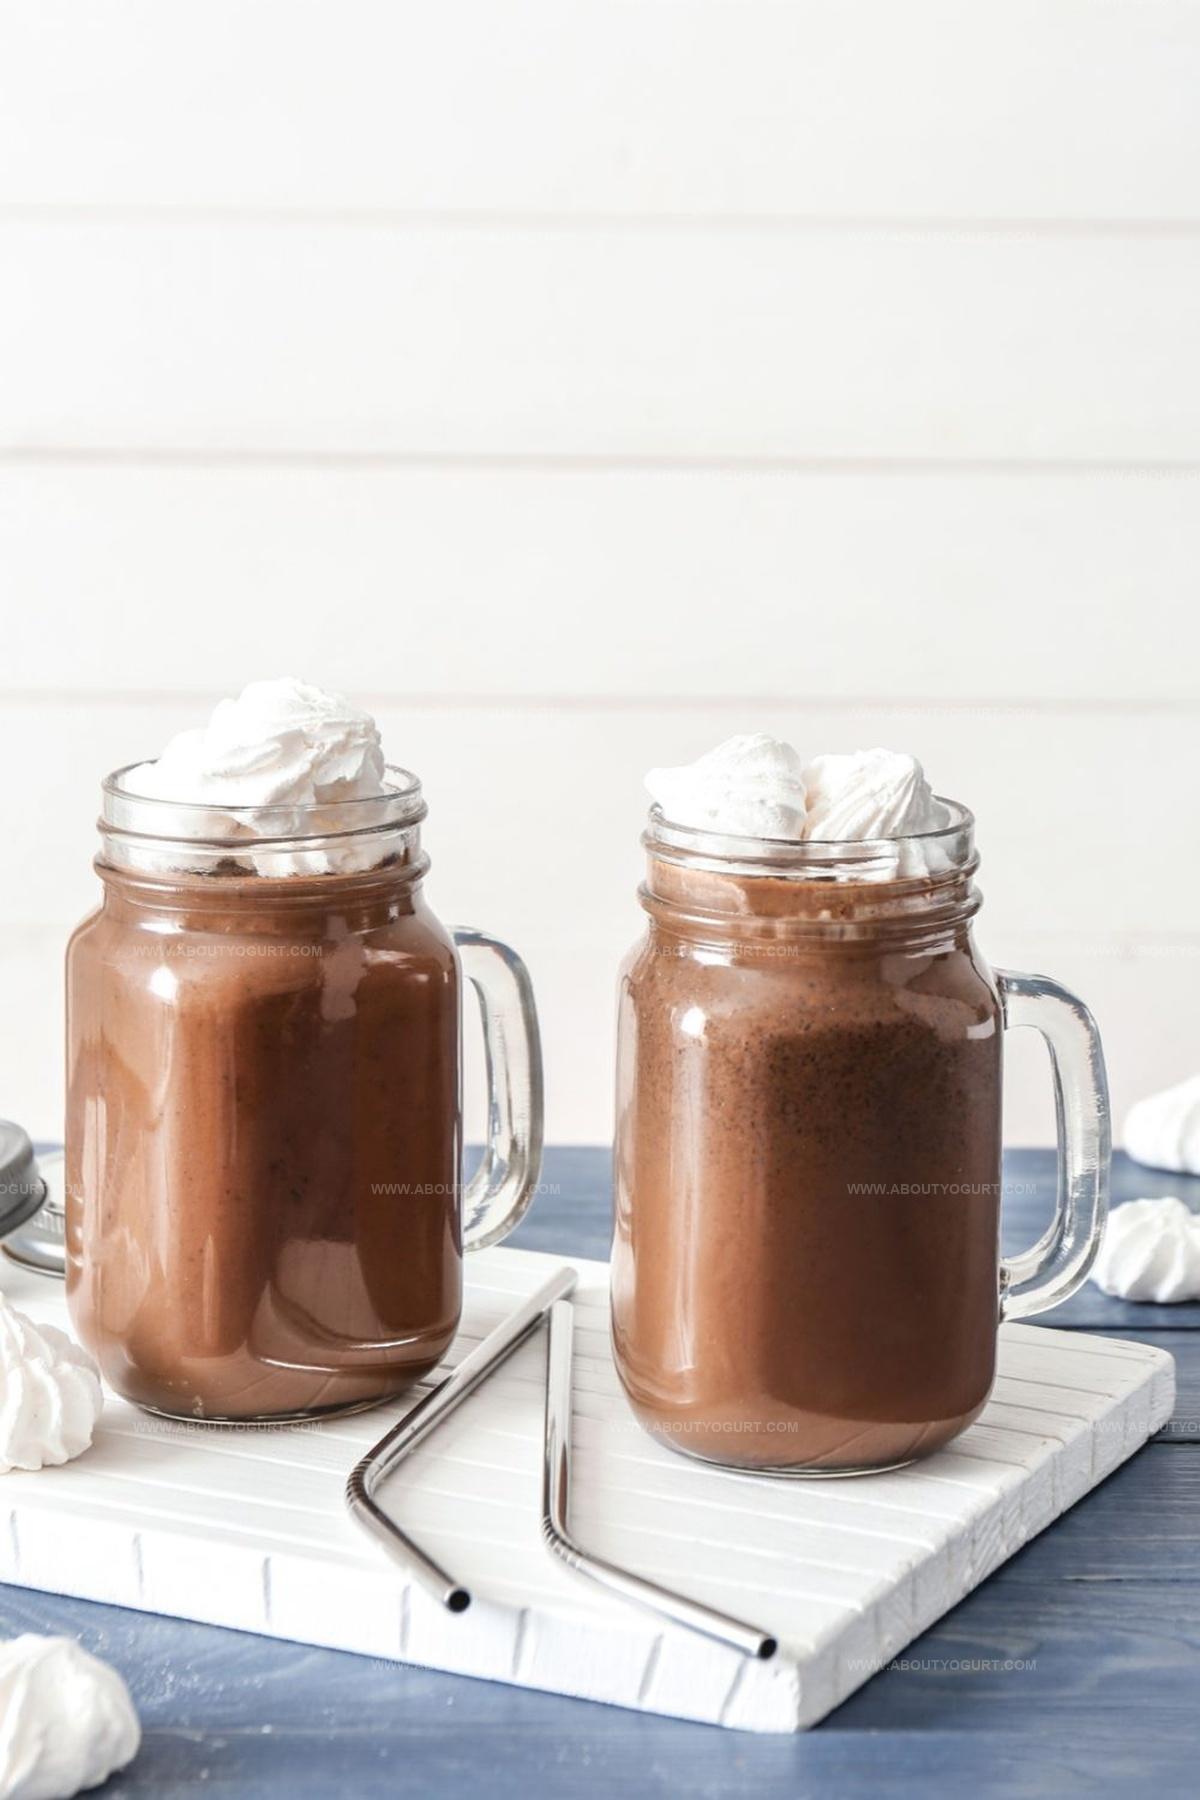
Rich chocolate pots offer a luxurious French-inspired dessert that melts effortlessly on your palate. Silky smooth chocolate mingles with delicate cream, creating an indulgent experience you’ll savor with pure delight.
Ingredients
Main Ingredients:
- 6 ounces (170 grams) semisweet chocolate, chopped
- 5 large egg yolks
- 1 cup (240 milliliters) heavy cream
- 1 cup (240 milliliters) whole milk
Flavor Enhancers:
- 1/2 teaspoon (2.5 milliliters) espresso powder (optional)
- 1/4 teaspoon (1.25 milliliters) kosher salt
Instructions
- Gently warm cream and milk in a saucepan over medium heat until tiny bubbles form around the edges, approximately 175°F.
- In a separate mixing bowl, carefully separate egg yolks and whisk until smooth and slightly pale.
- Gradually introduce a small portion of the hot cream mixture into the egg yolks, whisking continuously to prevent curdling and create a smooth tempered base.
- Slowly transfer the tempered egg mixture back into the saucepan, maintaining low heat and stirring consistently for 10-12 minutes until the custard thickens and coats the back of a spoon.
- Remove from heat and immediately incorporate chocolate, sea salt, and espresso powder, whisking vigorously until the mixture transforms into a glossy, uniform consistency.
- Position a fine mesh strainer over a clean bowl and carefully pour the chocolate custard through, eliminating any potential lumps and ensuring a silky texture.
- Distribute the velvety mixture evenly among 6 ramekins, gently tapping to release air bubbles.
- Refrigerate for a minimum of 2 hours, allowing the dessert to set and develop a rich, decadent profile before serving chilled.
Notes
- Tempering eggs carefully prevents scrambling, ensuring a silky smooth texture by gradually introducing hot cream while constantly whisking.
- Choosing high-quality dark chocolate with 70% cocoa solids dramatically enhances the richness and depth of flavor in the dessert.
- For a dairy-free version, substitute heavy cream and milk with coconut cream and almond milk, maintaining the same creamy consistency.
- Customize the intensity by adjusting espresso powder – use less for a subtle coffee hint or more for a pronounced mocha undertone.
- Prep Time: 10 minutes
- Cook Time: 12 minutes
- Category: Desserts
- Method: Simmering
- Cuisine: French
Nutrition
- Serving Size: 4
- Calories: 390 kcal
- Sugar: 18 g
- Sodium: 230 mg
- Fat: 32 g
- Saturated Fat: 19 g
- Unsaturated Fat: 11 g
- Trans Fat: 0.5 g
- Carbohydrates: 20 g
- Fiber: 3 g
- Protein: 7 g
- Cholesterol: 210 mg
Michael Thompson
Founder & Recipe Developer
Expertise
Education
Cascade Culinary Institute – Bend, OR
ServSafe Food Handler Certification – Portland, OR
Focus: Certified in core food safety and hygiene principles for both home and professional kitchens, with emphasis on ingredient handling, kitchen cleanliness, and safe preparation methods.
Mike’s kitchen journey began with a single goal: to make everyday meals feel like something worth celebrating.
After earning his Certificate in Culinary Arts from Cascade Culinary Institute, he spent years working with local farmers and small kitchens across Oregon, learning the beauty of seasonal, small-batch cooking.
Mike’s approach is simple, cook with what’s fresh, keep it approachable, and always leave room for a little creativity. When he’s not testing yogurt marinades or designing single-serving meals, you’ll find him hiking trails or hunting down the best berries at local markets.