Reese’s Banana Bread Recipe for Sweet Cravings
Baking a delightful reeses peanut butter banana bread combines two beloved treats into one irresistible slice of comfort.
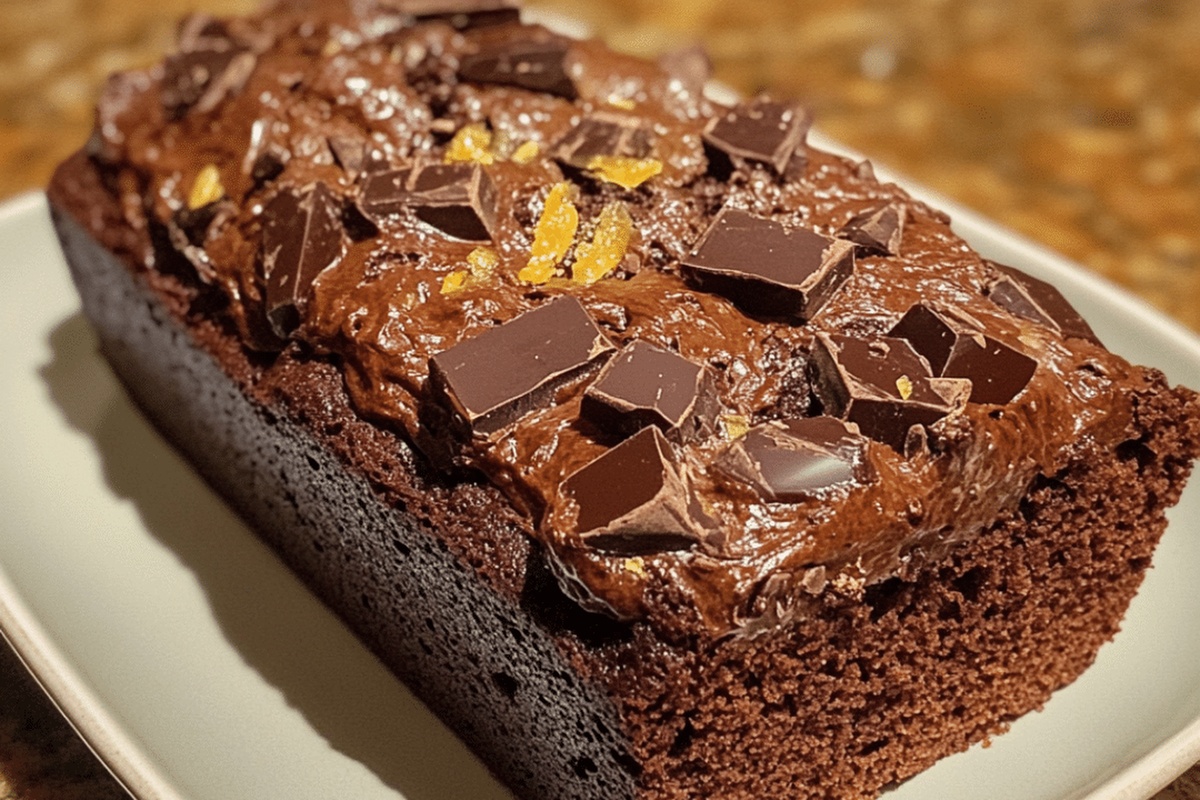
Chocolate and peanut butter swirl through moist banana-infused batter, creating a decadent experience.
Sweet bananas provide natural richness while adding depth to each tender crumb.
Smooth peanut butter ripples throughout the loaf, delivering unexpected bursts of nutty flavor.
Melted chocolate chips mingle with creamy peanut butter, promising an indulgent treat that feels like a warm hug.
Weekends deserve something special, and this bread delivers pure deliciousness in every single bite.
Slice into this heavenly creation and savor the perfect blend of sweet and salty goodness.
Why Reese’s Peanut Butter Banana Bread Is a Crowd Favorite

Ingredients for Reese’s Peanut Butter Banana Bread
Dry Ingredients:Wet Ingredients:Mix-In Ingredients:How to Bake Reese’s Peanut Butter Banana Bread
Step 1: Prepare Baking Space
Warm up your oven to a cozy 350F (175C). Grab your loaf pan and give it a quick butter or cooking spray massage to prevent any sticky situations.
Step 2: Create Dry Ingredient Blend
Grab a medium mixing bowl and whisk together:Blend until everything looks perfectly combined and smooth.
Step 3: Craft Creamy Butter Base
In a large bowl, start mixing:Whip these ingredients until they transform into a light, fluffy cloud-like mixture.
Step 4: Incorporate Moisture Elements
Gently beat in eggs one at a time. Then lovingly fold in:Mix until everything looks harmoniously blended.
Step 5: Combine Wet and Dry Mixtures
Slowly introduce your dry ingredient blend into the wet mixture. Stir gently until just combined. Sprinkle in Reeses peanut butter chips and fold softly.
Step 6: Bake to Perfection
Pour your luscious batter into the prepared loaf pan. Slide into the preheated oven and bake for 60-70 minutes. Check doneness by inserting a toothpick – it should come out clean.
Step 7: Cool and Serve
Let the bread rest in the pan for 10 minutes. Then transfer to a wire rack and allow to cool completely. Slice, serve, and enjoy your masterpiece!
Tips for Moist and Flavorful Banana Bread

Variations to Customize Banana Bread
Suggested Pairings for Banana Bread
Storage Tips for Reese’s Peanut Butter Banana Bread
FAQs About Reese’s Peanut Butter Banana Bread
Insert a toothpick into the center of the bread. If it comes out clean with no wet batter, the bread is done. The top should also be golden brown and slightly firm to the touch.
Yes, creamy or crunchy peanut butter works well. Just ensure it’s a smooth, spreadable consistency for the best texture in the bread.
Use overripe bananas with brown or black spots. They’re sweeter and will provide more moisture. If your bananas are still firm, you can ripen them quickly by placing them in a paper bag with an apple for 1-2 days.
Print
Reeses Peanut Butter Banana Bread Recipe
- Total Time: 75-85 minutes
- Yield: 8 1x
Description
Indulgent Reeses peanut butter banana bread blends classic comfort with chocolate-peanut butter magic. Rich banana-infused batter swirled with Reeses pieces creates a mouthwatering dessert you’ll crave again and again.
Ingredients
Main Ingredients:
- 3 ripe bananas, mashed
- 1 1/2 cups (190 grams) all-purpose flour
- 1 cup (200 grams) granulated sugar
- 1 cup (170 grams) Reeses peanut butter chips
- 1/2 cup (120 grams) creamy peanut butter
Wet Ingredients:
- 2 large eggs
- 1/4 cup (60 grams) unsalted butter, softened
- 1 teaspoon vanilla extract
Dry Ingredients:
- 1 teaspoon baking soda
- 1/2 teaspoon salt
Instructions
- Prepare the oven to 350F (175C) and coat a 9×5-inch loaf pan with cooking spray or butter.
- Sift together flour, baking soda, and salt in a medium mixing bowl, ensuring even distribution of dry ingredients.
- Using an electric mixer, blend peanut butter, softened butter, and sugar until the mixture becomes airy and pale, approximately 3-4 minutes.
- Incorporate eggs individually, mixing thoroughly after each addition to create a smooth consistency.
- Mash ripe bananas until creamy and blend them into the butter mixture along with vanilla extract, creating a rich, fragrant base.
- Gently fold dry ingredients into the wet mixture, stirring until just combined to prevent overmixing and maintain a tender texture.
- Carefully fold peanut butter chips throughout the batter, distributing them evenly for consistent flavor in each slice.
- Transfer the batter to the prepared loaf pan, smoothing the top with a spatula for an even surface.
- Bake in the preheated oven for 60-70 minutes, checking doneness by inserting a toothpick into the center – it should emerge clean with minimal crumbs.
- Remove from oven and let the bread rest in the pan for 10 minutes to set its structure.
- Carefully transfer the loaf to a wire cooling rack, allowing it to cool completely before slicing and serving.
Notes
- Adjust peanut butter chip quantity based on personal preference, ensuring even distribution throughout the batter for consistent flavor in every slice.
- Overripe bananas provide maximum sweetness and moisture, creating a more tender and flavorful banana bread texture.
- Use room temperature eggs and butter to help ingredients blend smoothly and create a more uniform batter consistency.
- For gluten-free option, substitute all-purpose flour with a 1:1 gluten-free baking blend to maintain similar structure and texture.
- Prep Time: 15 minutes
- Cook Time: 60-70 minutes
- Category: Breakfast, Snacks, Desserts
- Method: Baking
- Cuisine: American
Nutrition
- Serving Size: 8
- Calories: 370 kcal
- Sugar: 26 g
- Sodium: 230 mg
- Fat: 22 g
- Saturated Fat: 7 g
- Unsaturated Fat: 14 g
- Trans Fat: 0.1 g
- Carbohydrates: 38 g
- Fiber: 3 g
- Protein: 8 g
- Cholesterol: 40 mg
Michael Thompson
Founder & Recipe Developer
Expertise
Education
Cascade Culinary Institute – Bend, OR
ServSafe Food Handler Certification – Portland, OR
Focus: Certified in core food safety and hygiene principles for both home and professional kitchens, with emphasis on ingredient handling, kitchen cleanliness, and safe preparation methods.
Mike’s kitchen journey began with a single goal: to make everyday meals feel like something worth celebrating.
After earning his Certificate in Culinary Arts from Cascade Culinary Institute, he spent years working with local farmers and small kitchens across Oregon, learning the beauty of seasonal, small-batch cooking.
Mike’s approach is simple, cook with what’s fresh, keep it approachable, and always leave room for a little creativity. When he’s not testing yogurt marinades or designing single-serving meals, you’ll find him hiking trails or hunting down the best berries at local markets.